Sep 11, 2025: We all got our own repositories to store, update, and document our work process. I've used Git in the past but not recently, so here's a summary of some key concepts I gathered to refresh my memory.
What Is Git?
Git is a distributed version control system used to track changes to files and collaborate on projects. It lets you record snapshots of your code over time and synchronize work across different machines and teammates.
Core Concepts
- Repository: A project folder containing a hidden .git directory with all history.
- Staging area: Where you prepare changes using git add before committing.
- Commit: A recorded snapshot of your files, with a message and link to previous commits.
- Branch: A movable pointer to a sequence of commits (e.g., main, feature-x).
- Merge: Combines work from different branches into one history.
- Remote: A shared copy of the repository (e.g., GitHub, GitLab) used with git push and git pull.
How Git Works
- Git stores your project as a series of snapshots, not just line-by-line diffs.
- Each commit points to a tree of files and to one or more parent commits, forming a history graph.
- Branches are simply labels pointing to commits, which move forward as you commit.
- Pushing and pulling sync the commit history between your local repo and remotes.
How to Download a Git Repository to Your Local Disk
1. Go to the Folder Where We Want the Repo
Use cd to move into the directory where we want to download the repository:
cd /path/Example on macOS or Linux:
cd ~/Documents/projects2. Clone the Repository
HTTPS Method (Most Common)
git clone https://github.com/username/repository.gitSSH Method (If You Have SSH Keys Set Up)
git clone git@github.com:username/repository.gitGitLab Example (MIT GitLab)
git clone https://gitlab.cba.mit.edu/classes/863.25/people/YuWang.git3. What Happens After Cloning?
Git creates a new folder with the same name as the repository:
YuWang/
├── .git/
├── index.html
├── Week1/
└── ...
We now have:
- The full project files
- The full commit history
- A local working copy on which we can edit
4. Optional: Shallow Clone (Without Full History)
If the repository is huge and we just want the latest snapshot, use a shallow clone:
git clone --depth 1 <repo-url>This behaves more like a "zip download" of the latest state.
5. Download as ZIP Using Command Line (GitHub Example)
If we really don't want to use git clone, we can download the repository as a ZIP:
curl -L -o repo.zip https://github.com/username/repository/archive/refs/heads/main.zip
unzip repo.zip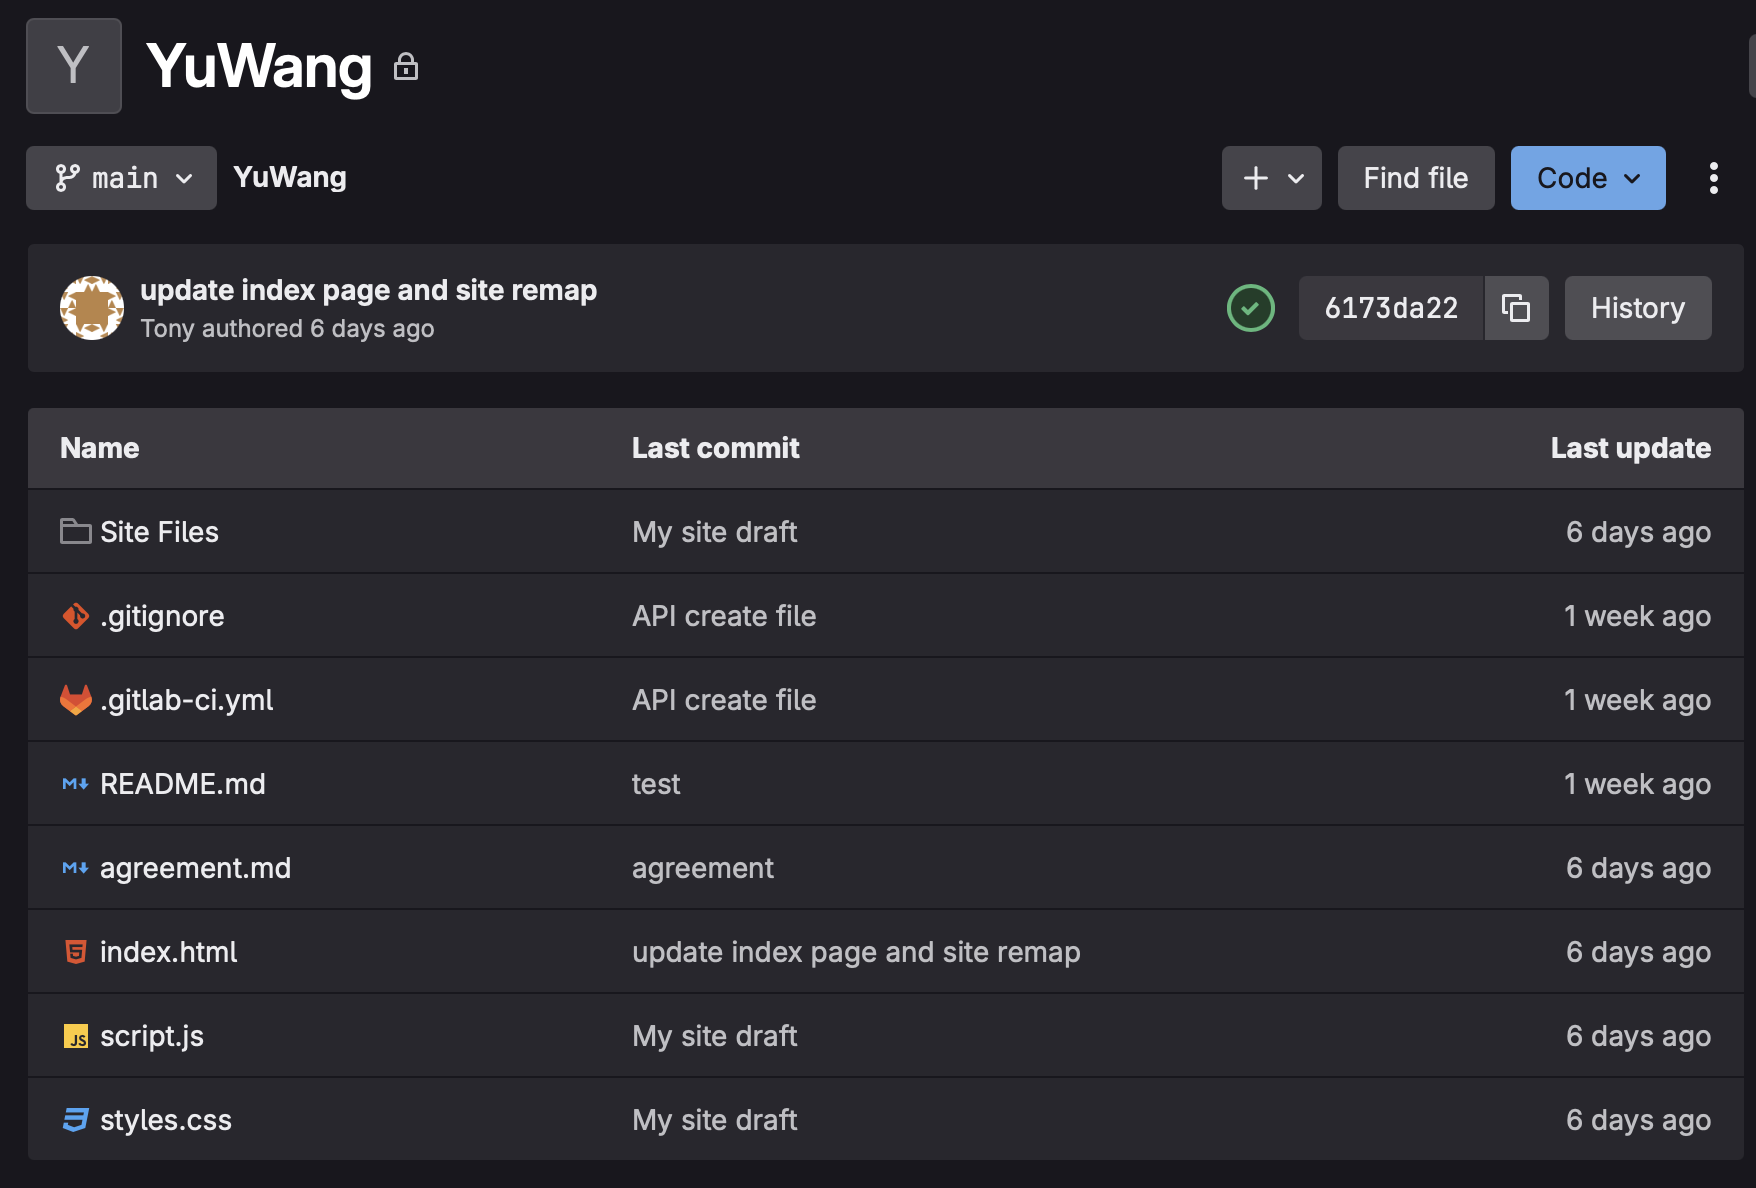
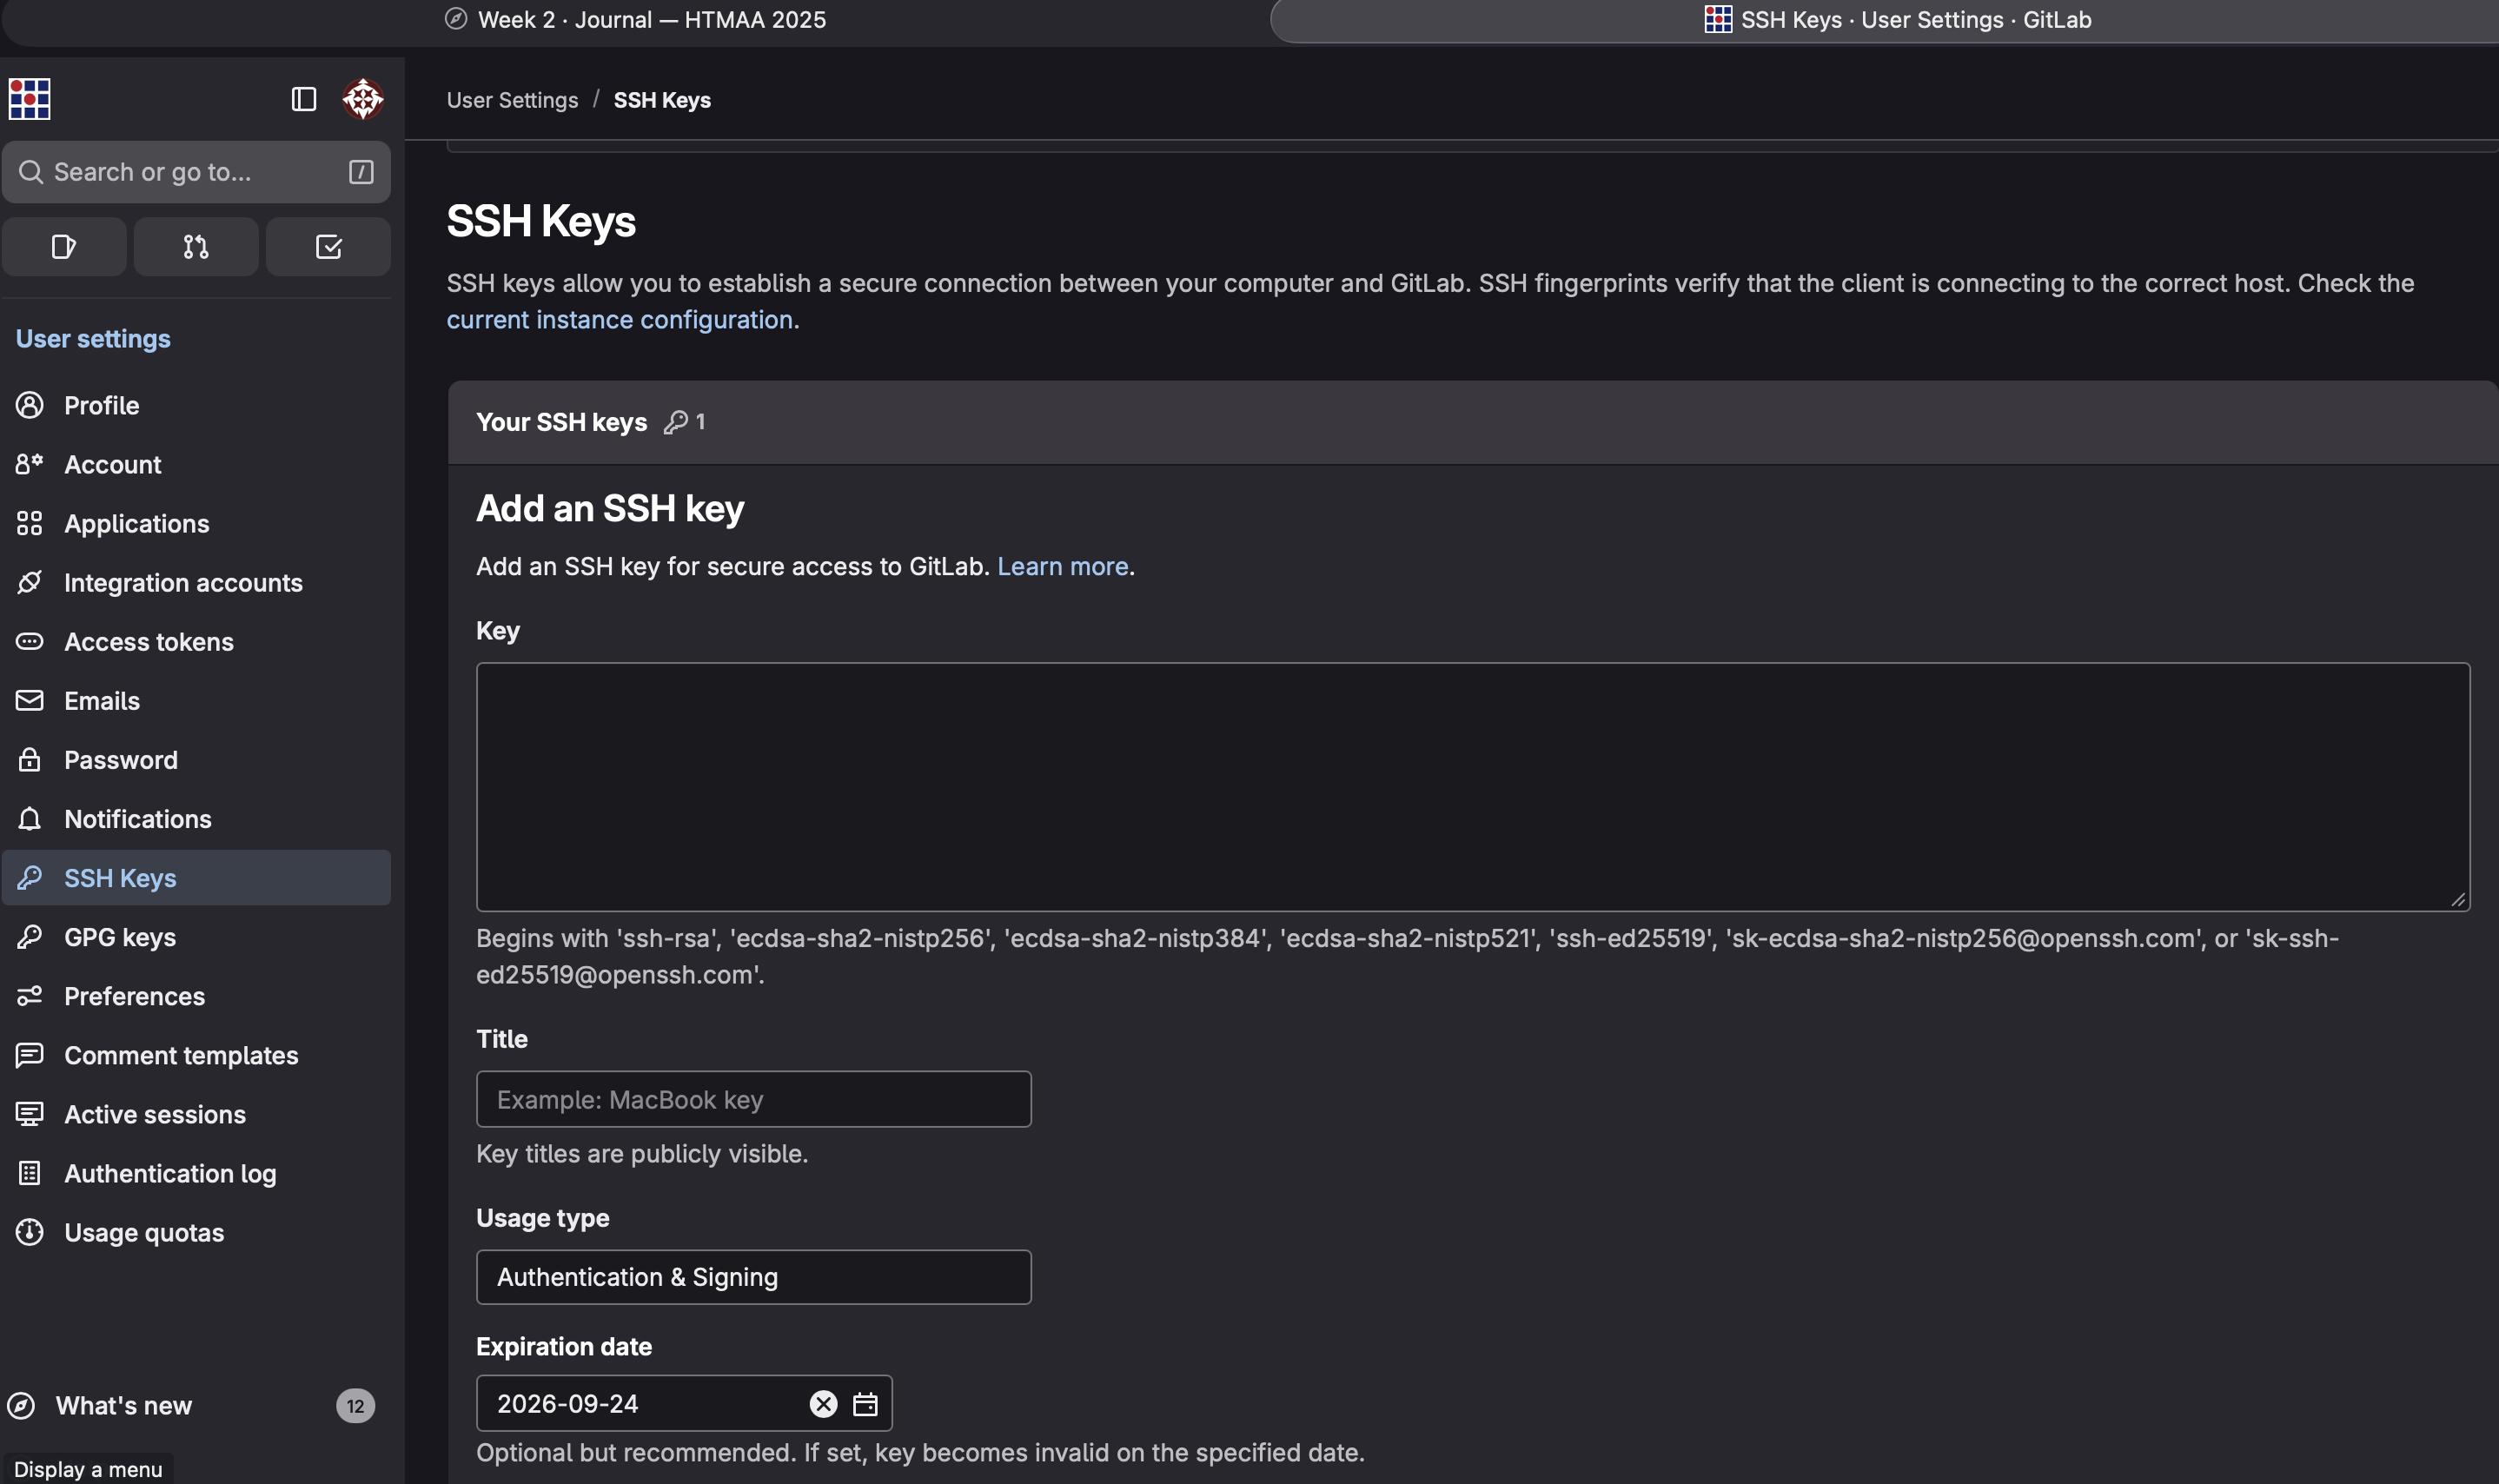
Initial SSH key setup at the starting stage
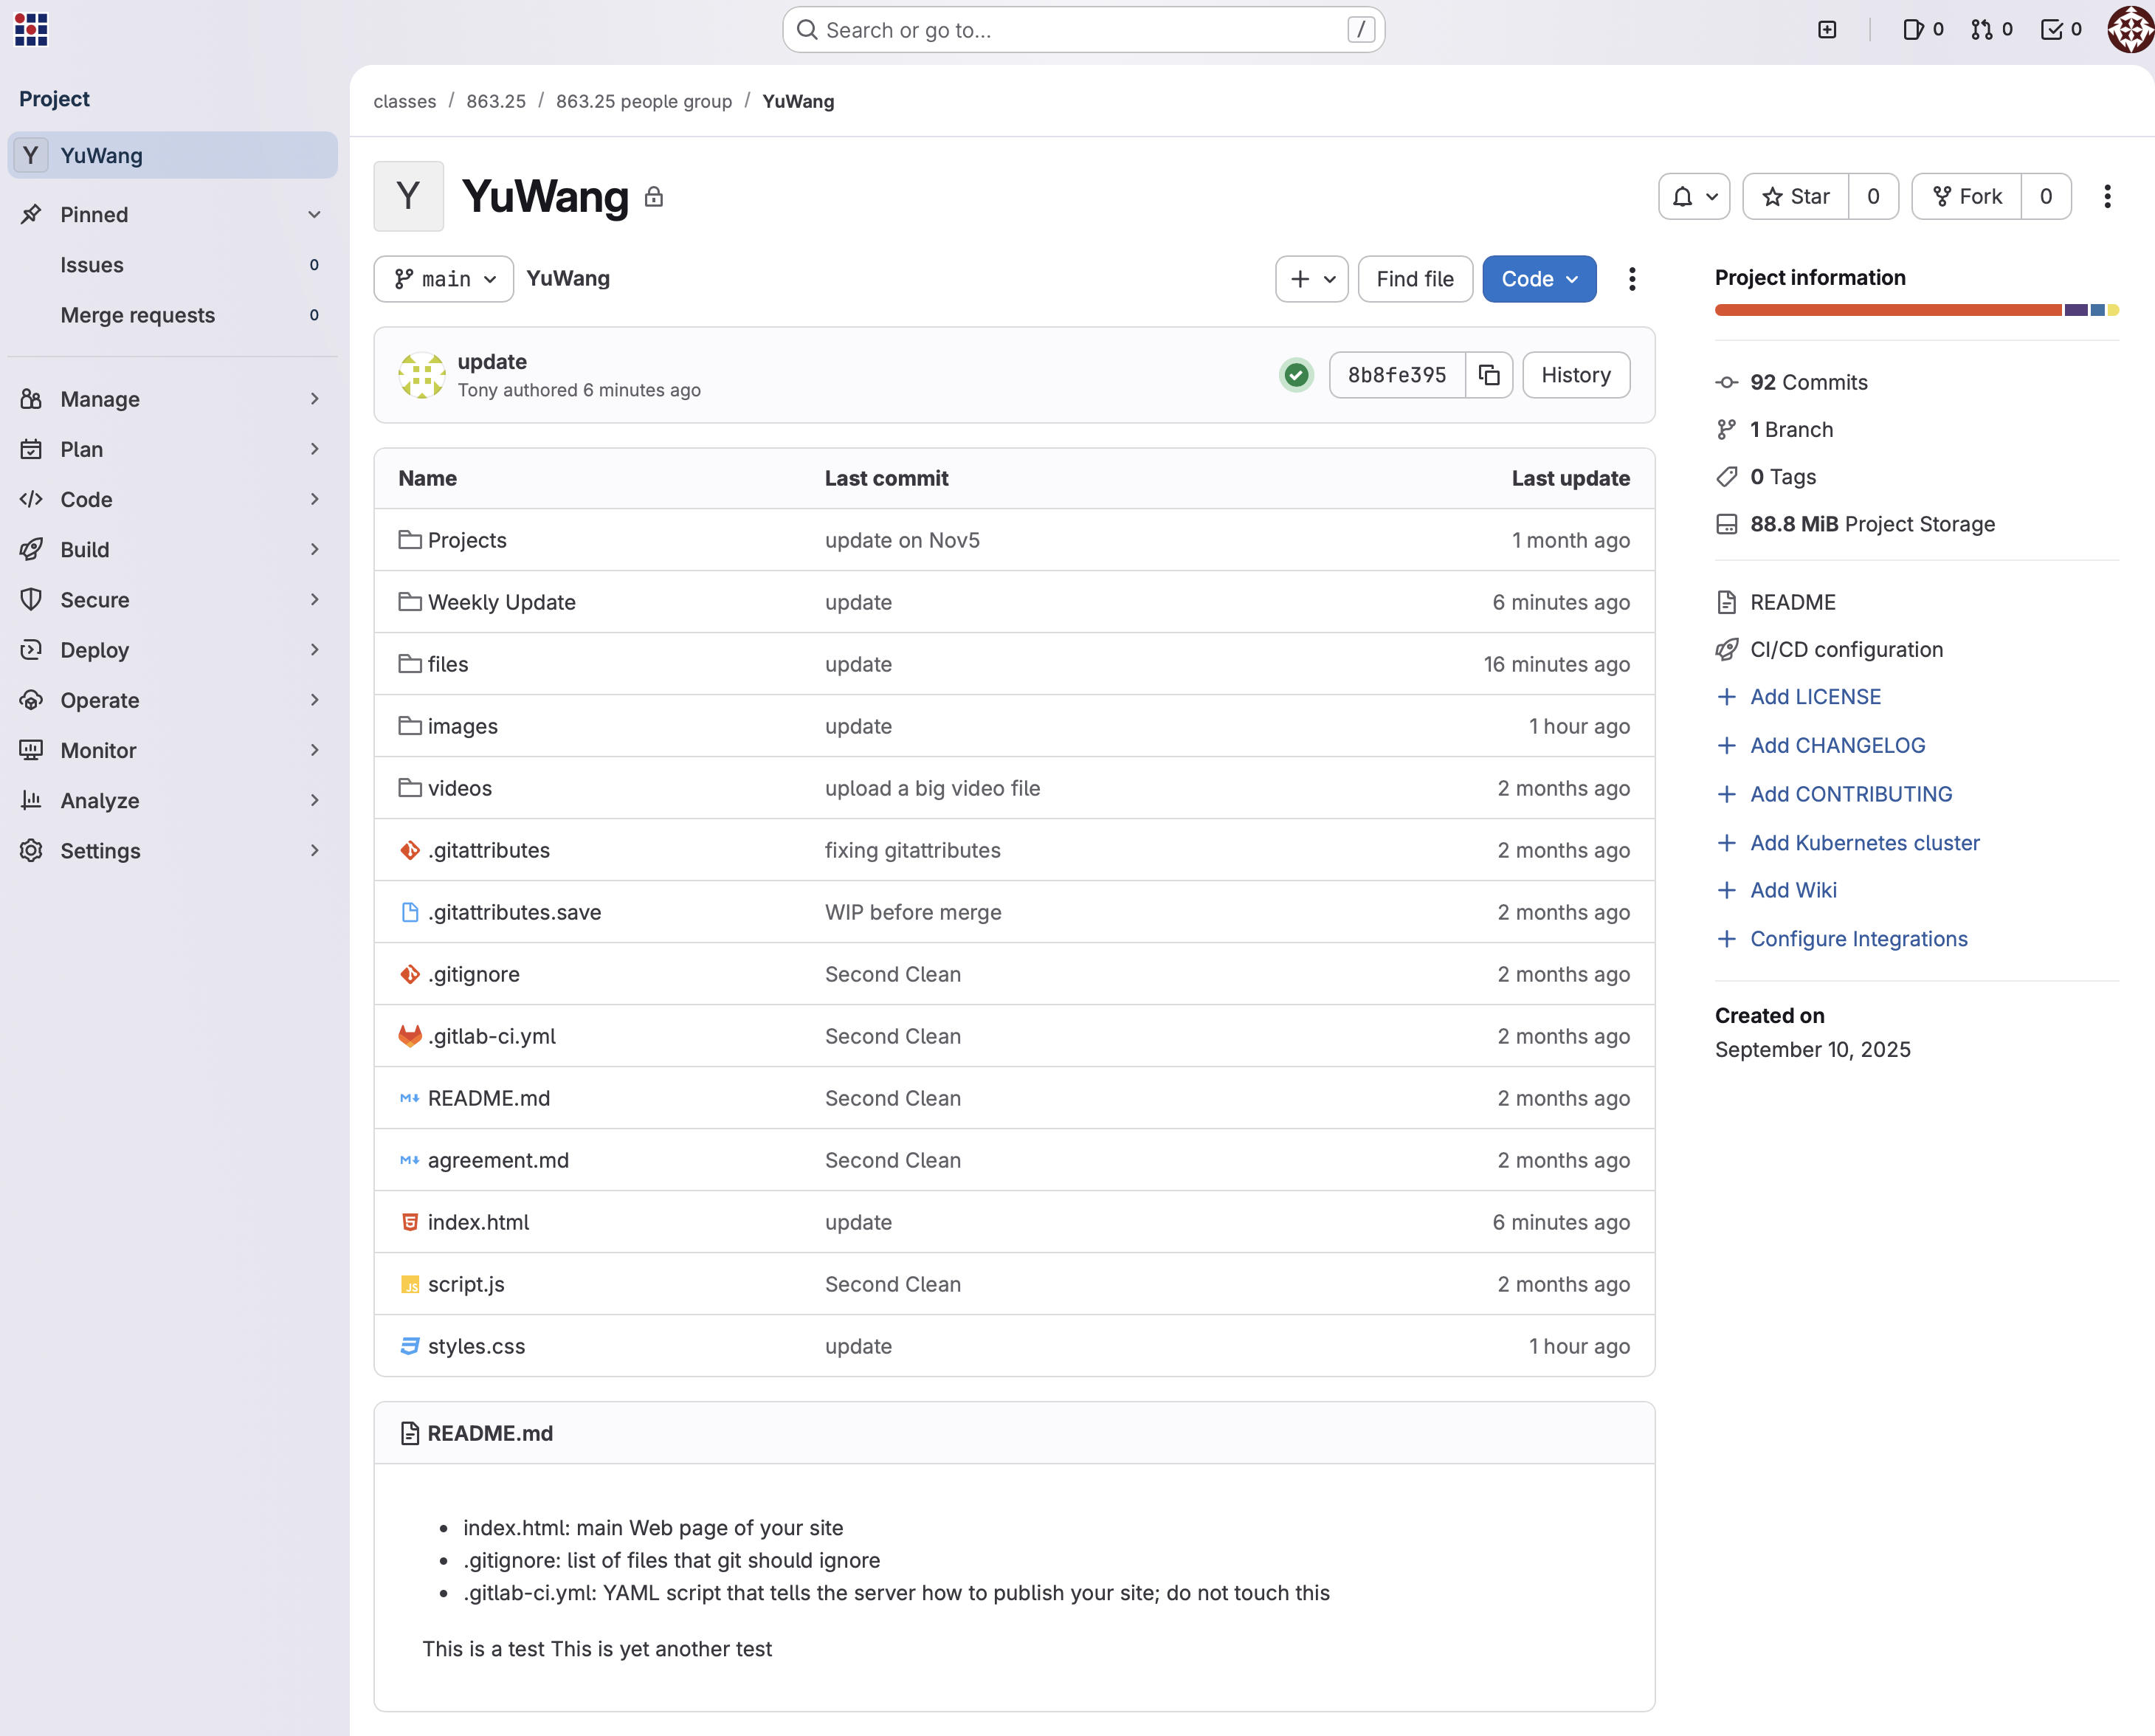
Result snapshot after SSH key setup
Difference Between SSH and HTTPS in Git
| Feature | SSH | HTTPS |
|---|---|---|
| Authentication Method | Uses SSH keys (public/private key pair) | Uses username + password or token |
| Security Level | Very secure (key-based encryption) | Secure but relies on proper token/password handling |
| Ease of Use | Easy after keys are set up; no username/password prompts | Easiest to start; may ask for password/token often |
| Setup Required | Must generate SSH keys & add to GitHub/GitLab | No setup needed; works out-of-the-box |
| Typical Clone URL | git@github.com:username/repo.git |
https://github.com/username/repo.git |
| Works Behind Corporate Firewalls? | Sometimes blocked (port 22) | Almost always works (port 443) |
| Credential Storage | Keys stored locally; no prompts | Uses credential helpers or repeated login |
| Recommended For | Developers pushing/pulling frequently | Beginners or restricted networks |
Challenges & Learning
Getting comfortable with the command line: Nothing is really difficult except that getting used to the command-line interface takes time. I was also a bit confused about the workflow of adding, committing, and then pushing.
I've had a few incidents where I couldn't push my updates to the site. Some were due to logistical issues—for example, I tried multiple times and still ran into problems pushing changes before class began. Another time, I believe I manually updated the repository using the GUI, and when I later tried to push through the command line, it showed conflicts. Until now, I've managed to resolve all these issues without consulting anyone except ChatGPT.
- git add . — Put changed items up for staging
- git commit -m "message" — Put changed items into the pipeline to upload
- git push — Move the changed file to the repo and changes take effect
Exceeding the Maximum Allowable Upload File Size
One challenge I ran into was trying to upload files larger than 25 MB (combined) and failing. It took me a while to fix this issue because the files were already committed. To fix it, I used the following approach:
git reset --soft HEAD~1
git restore --staged path/to/bigfile
rm path/to/bigfile   # if you don't want it in the repo at all
git commit -m "Commit without large file"| Command | What it does | Effect on your repo (mental model) |
|---|---|---|
git reset --soft HEAD~1 |
Moves HEAD (your branch pointer) back by 1 commit, but keeps all changes from that commit in the staging area. | "Undo the last commit, but keep everything staged exactly as if you were about to recommit." |
git restore --staged path/to/bigfile |
Removes only that file from the staging area (index). The file still remains in your working folder. | "Keep all other changes staged, but don't include this big file in the next commit." |
rm path/to/bigfile |
Deletes the file from your local working directory (your filesystem). Optional: do this only if you don't need the file locally. | "Remove the big file from disk so it won't get re-added accidentally." |
git commit -m "Commit without large file" |
Creates a new commit using whatever is currently staged. Since the big file was unstaged, it won't be included. | "Make a clean commit that includes everything you want, excluding the big file." |
Dec 6, 2025 Update
Dec 9, 2025 Update — Site Design
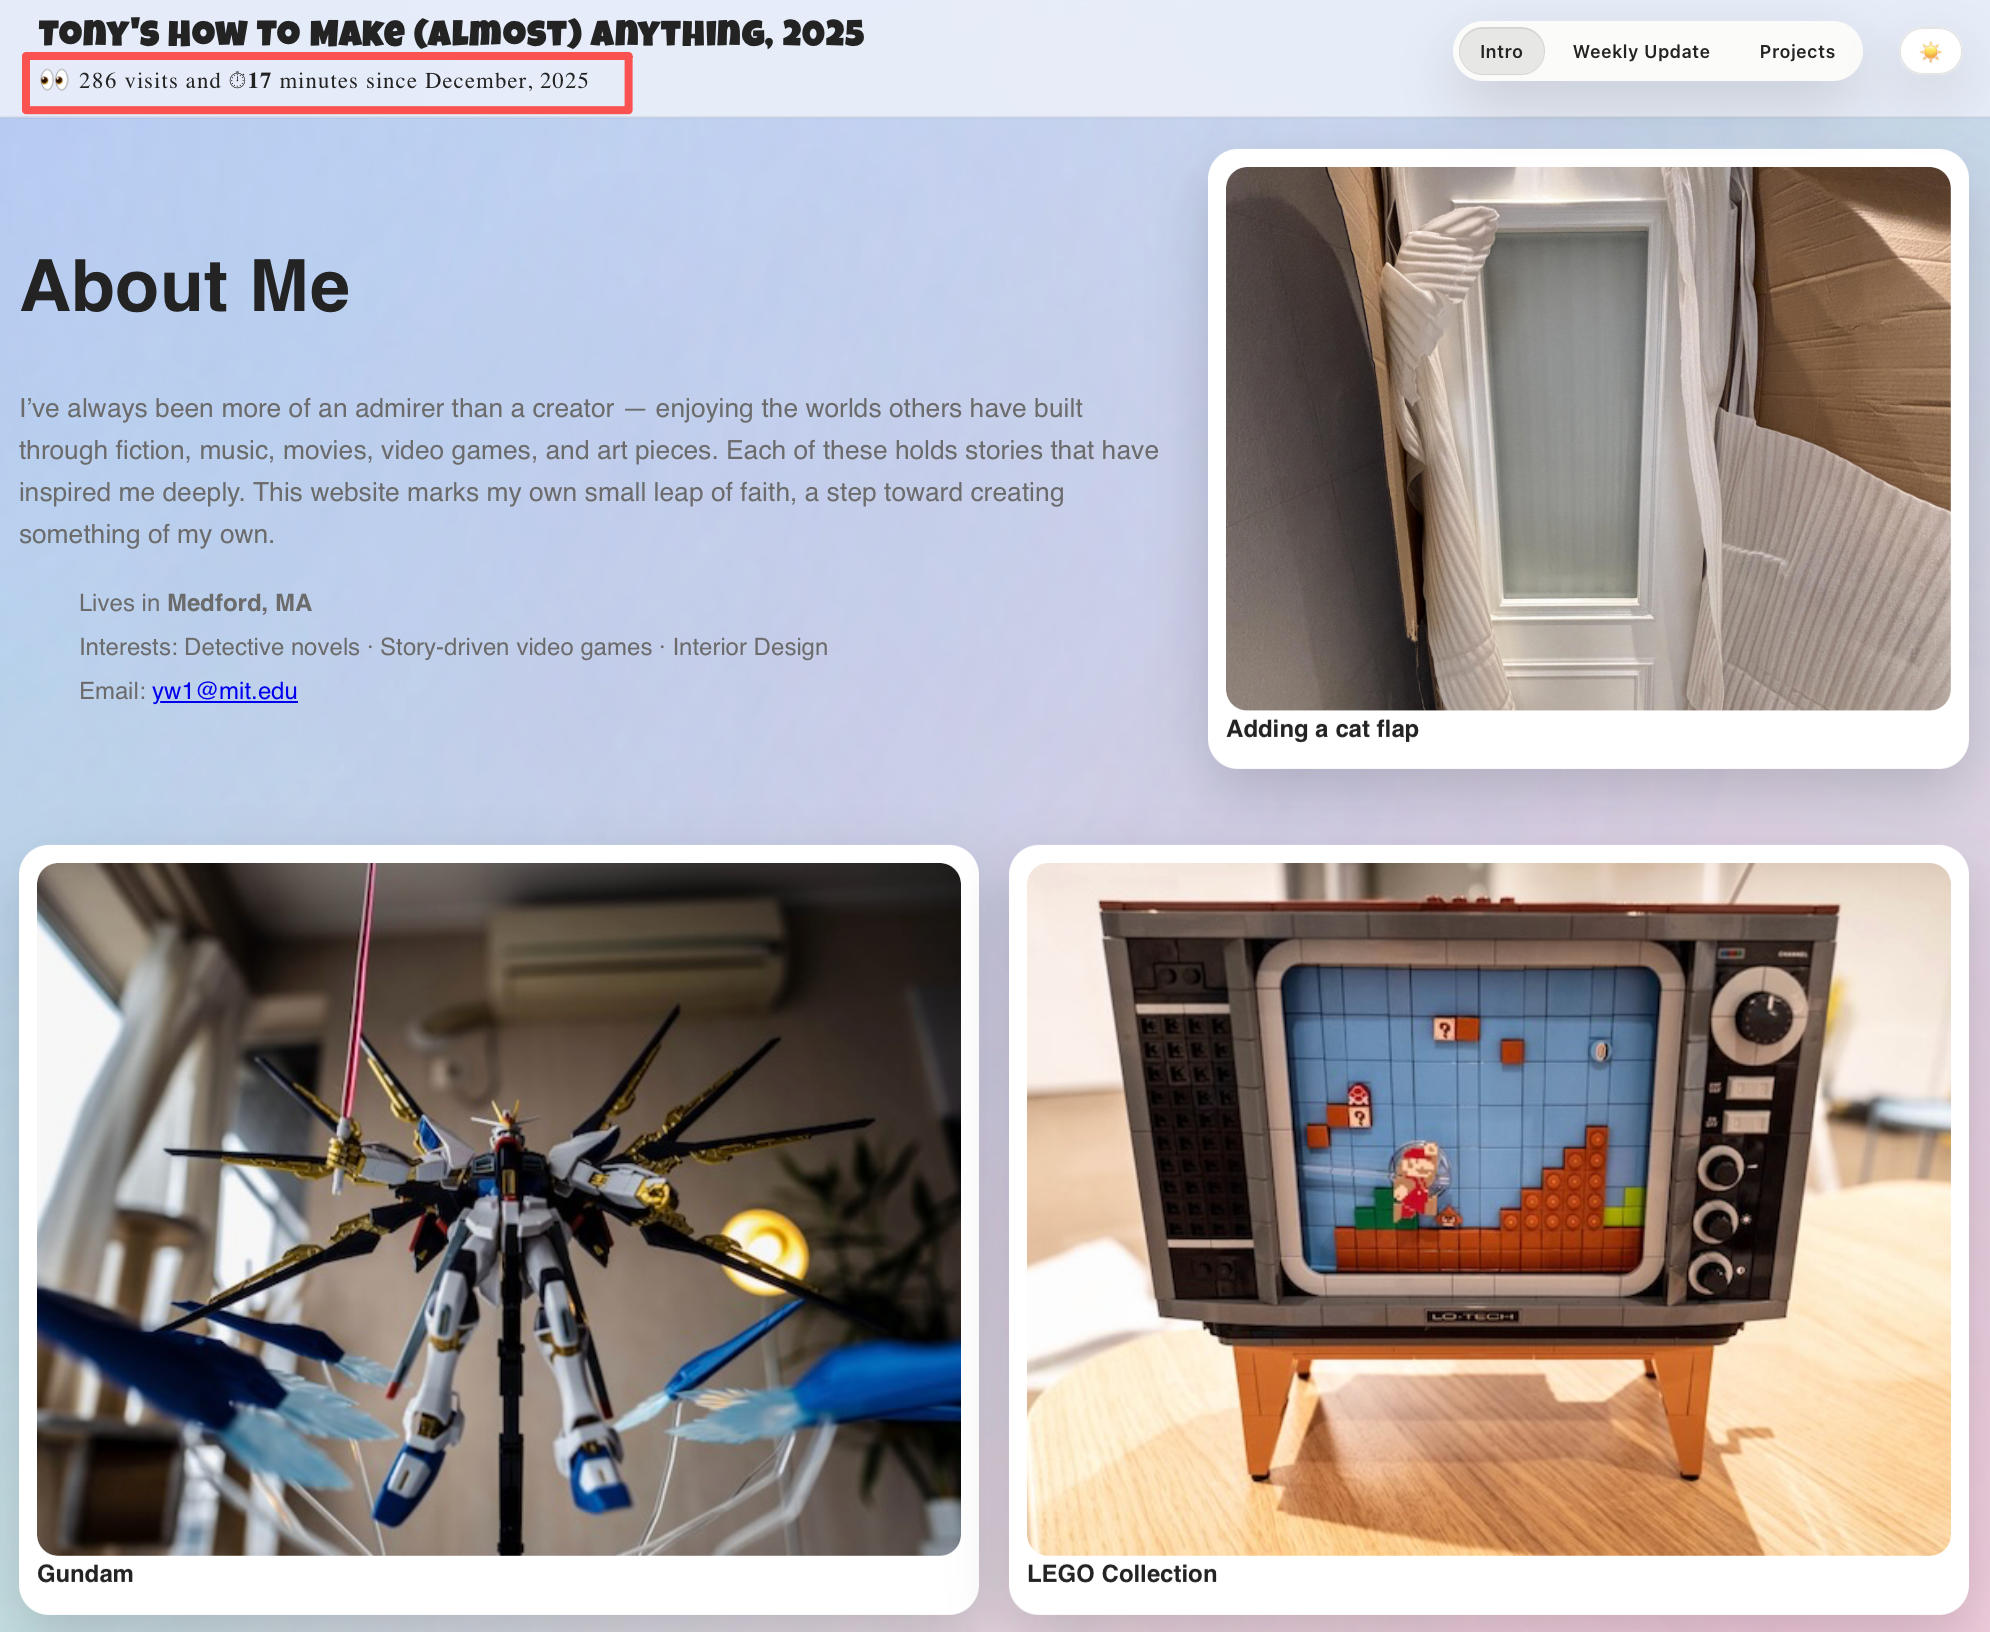
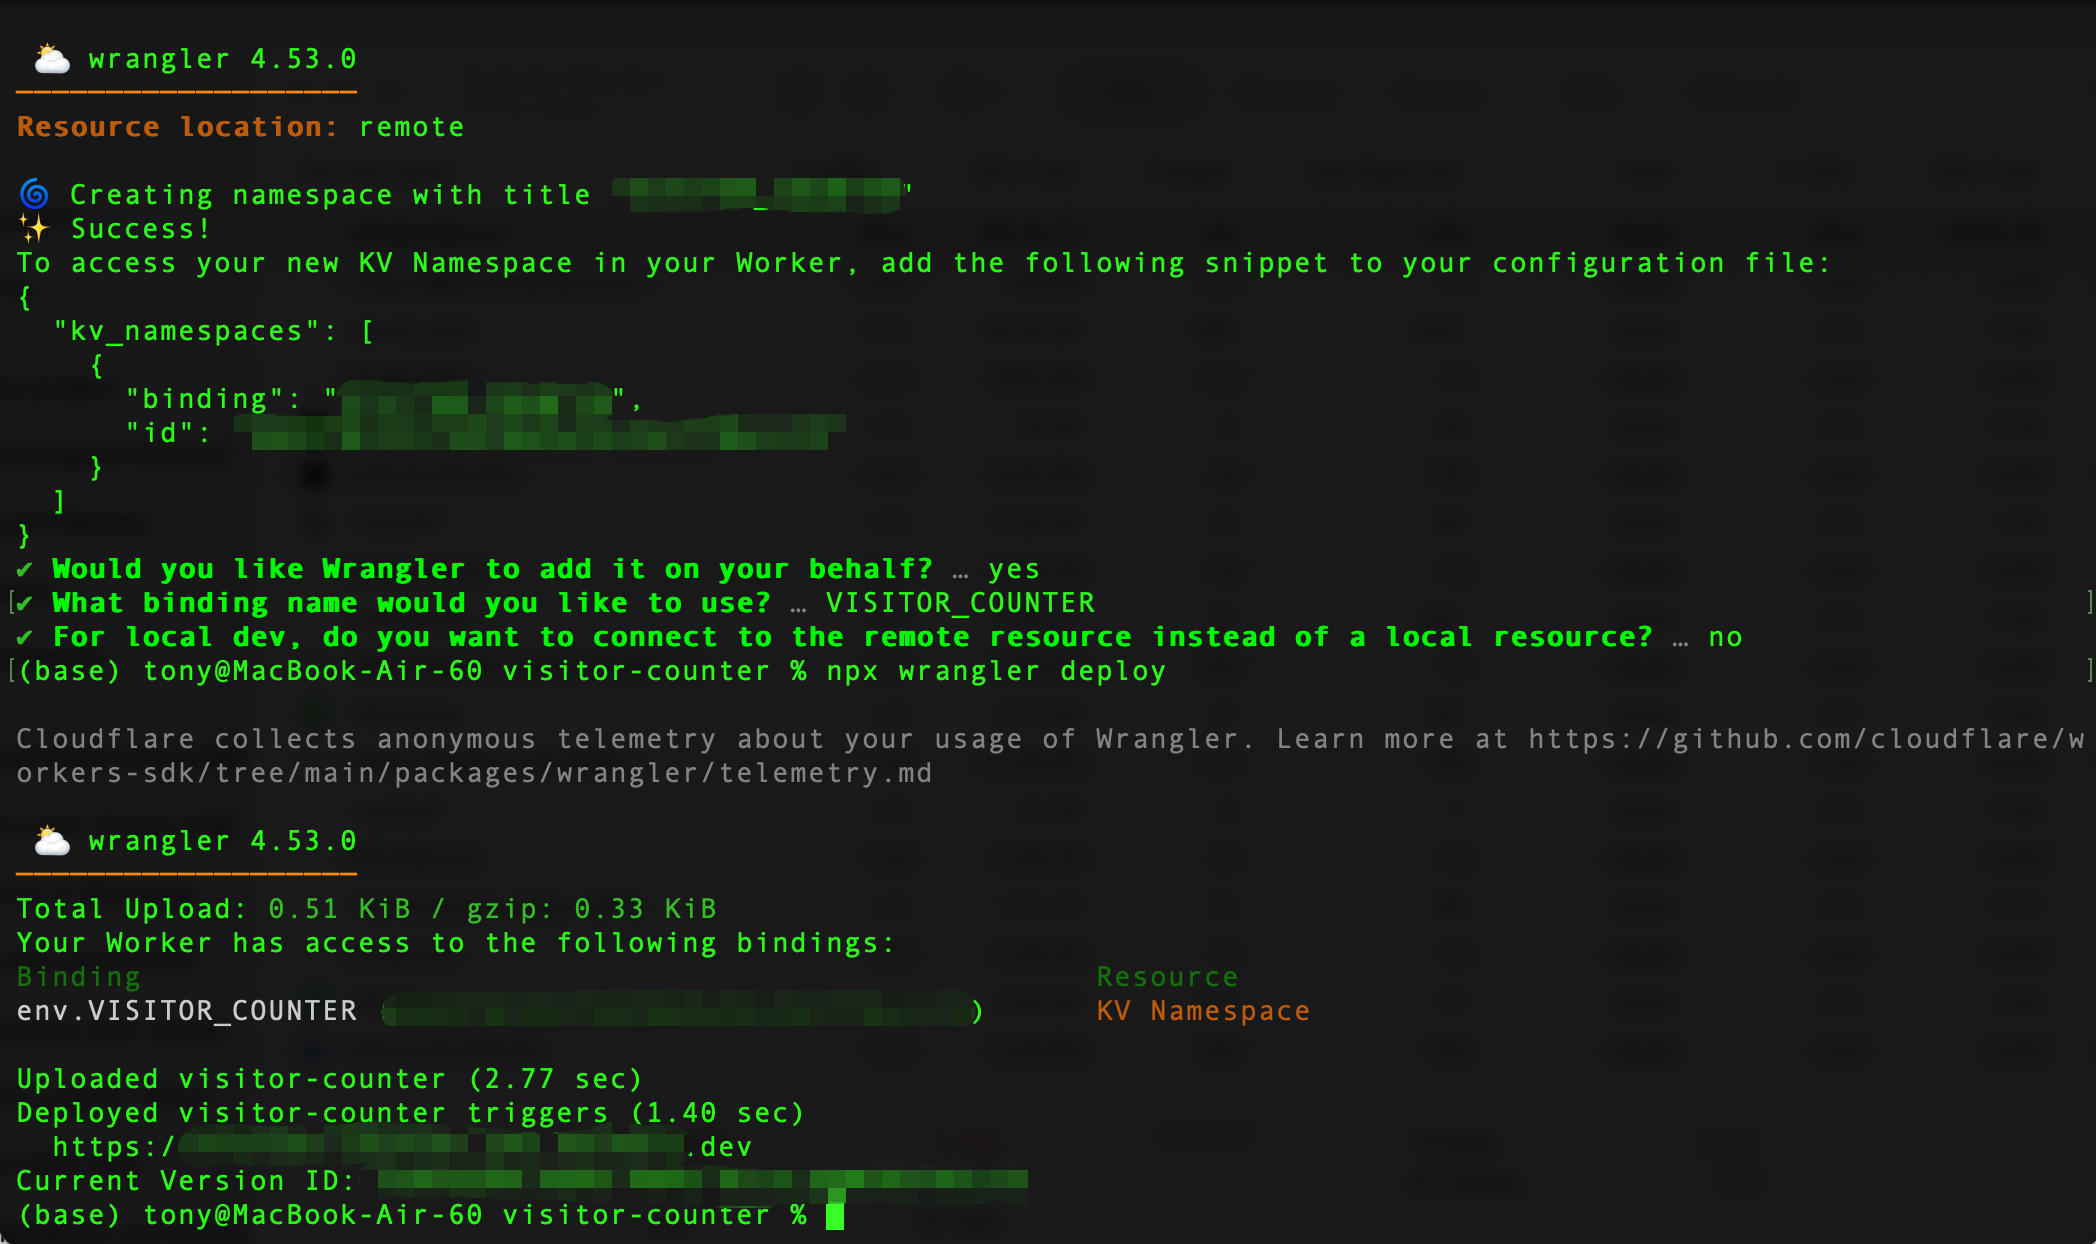
I want this space to be something between a survival guide, a record of things that worked (and definitely things that didn't), and a pleasant place to scroll through without regret. I even added a tiny visitor counter and time tracker—not to chase numbers, but so future-me can come back one day and see whether anyone else ever fell into this rabbit hole.
If this page helps you, inspires you, or at least reassures you that confusion is part of the process… then it's doing its job.
Visitor Counter Implementation
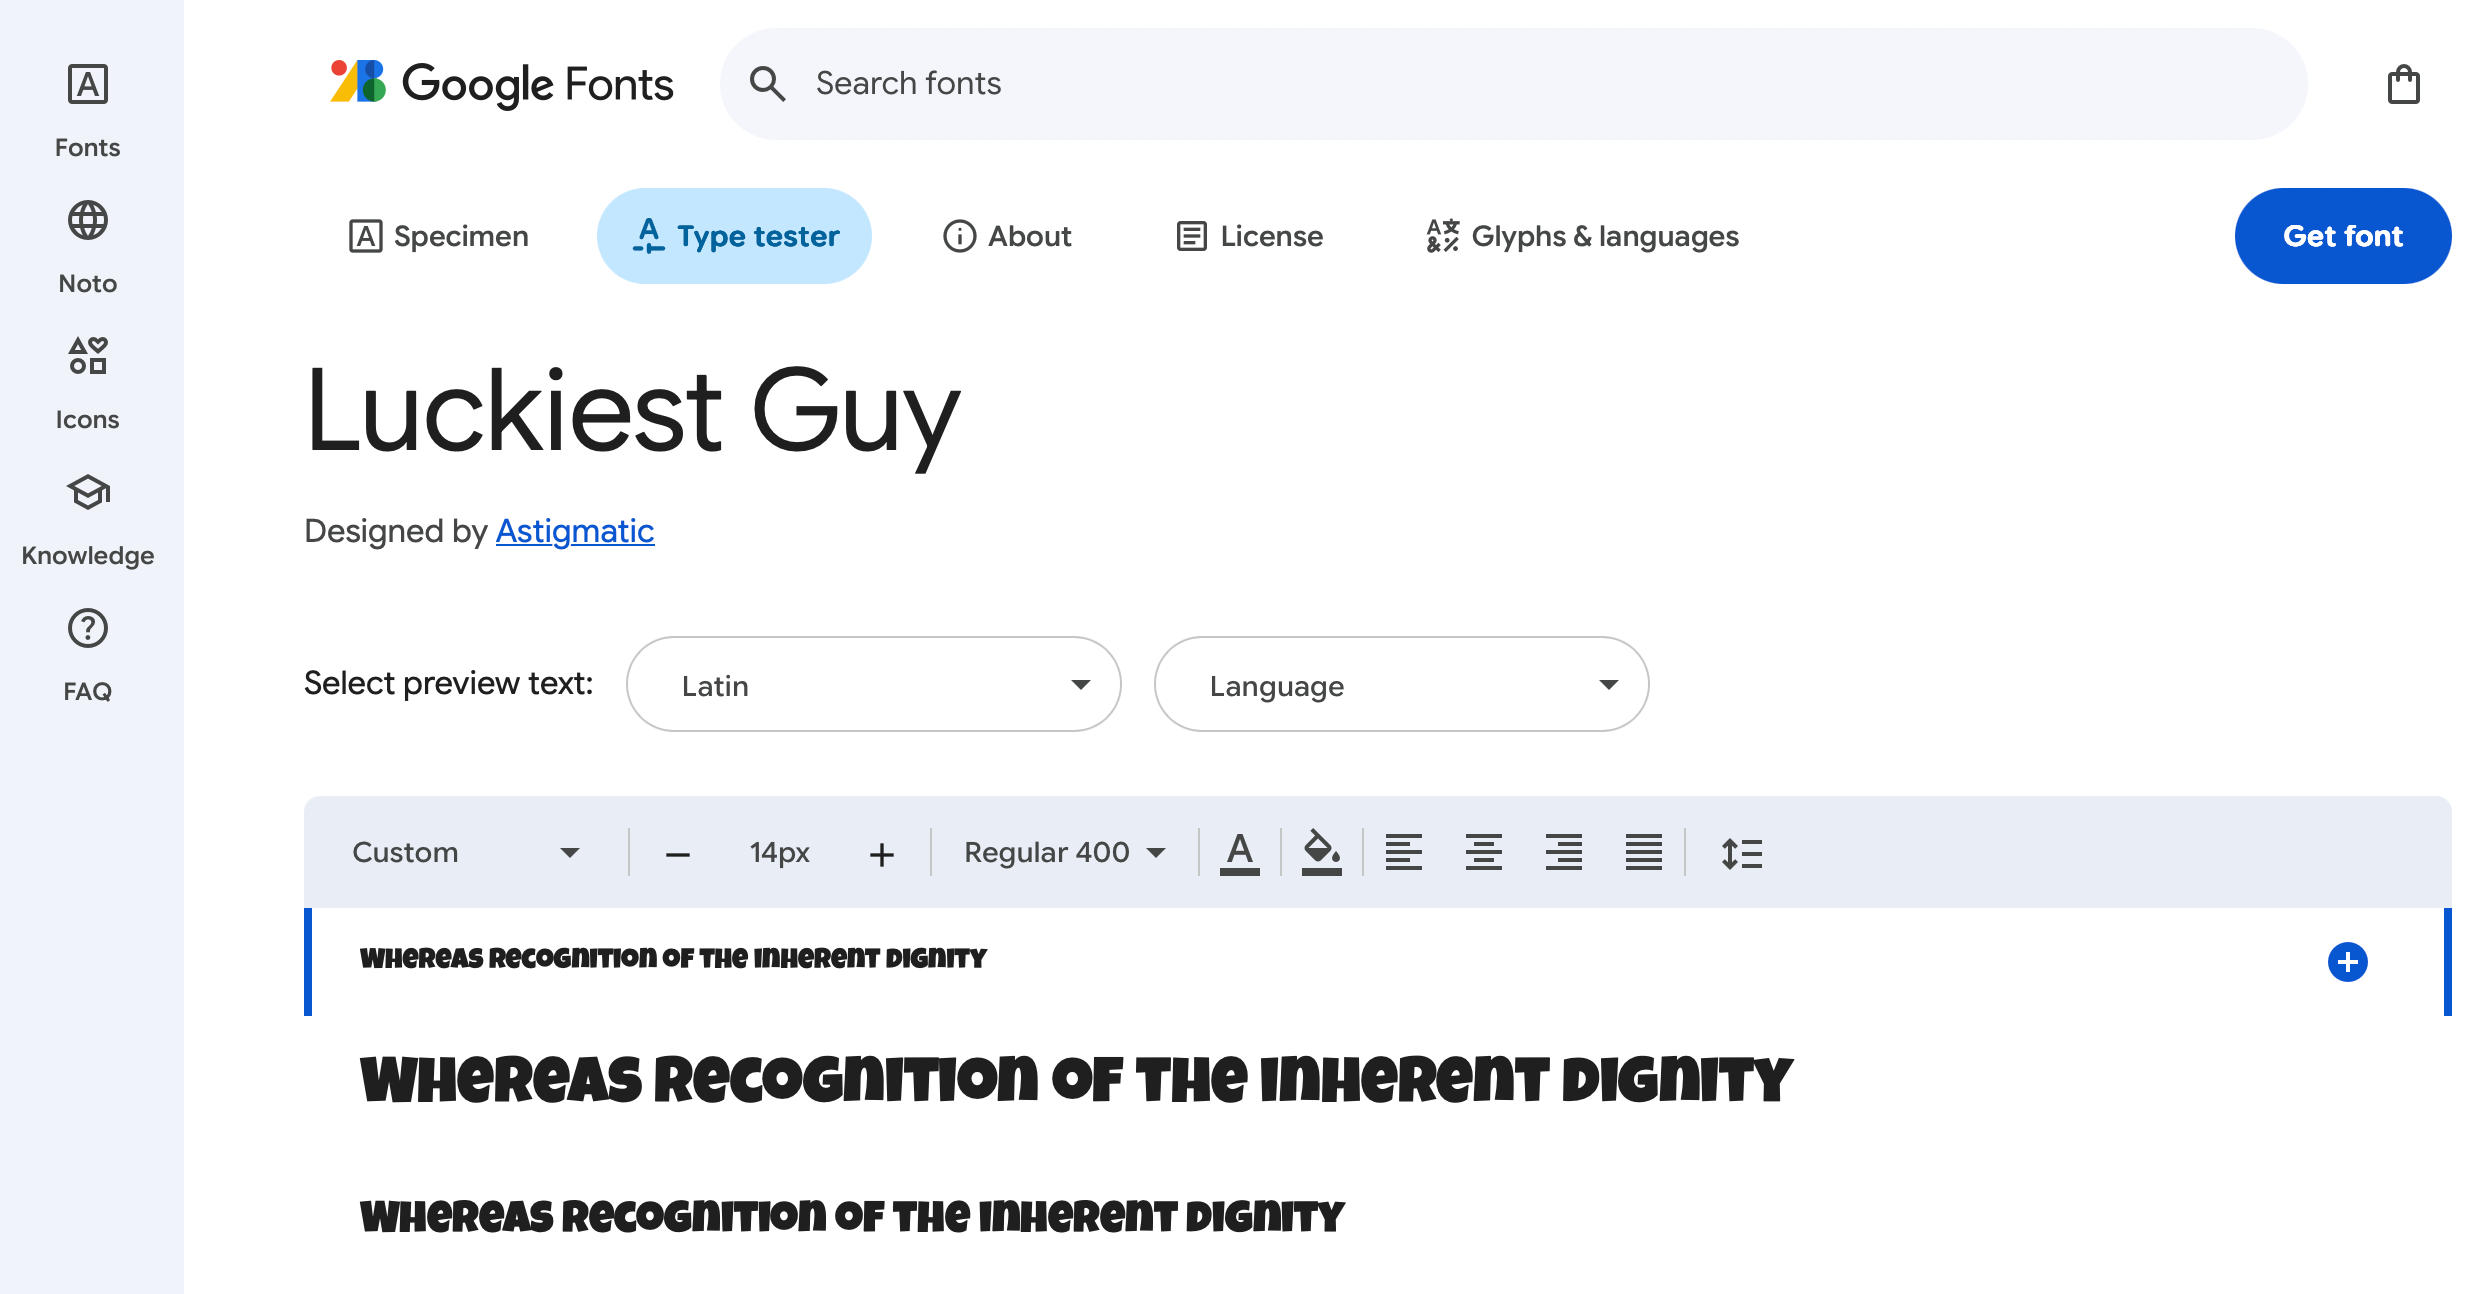
A Note on Font Choice
Vinyl Cutter — Computer Controlled Cut
Vinyl Cutting Workflow (Roland)
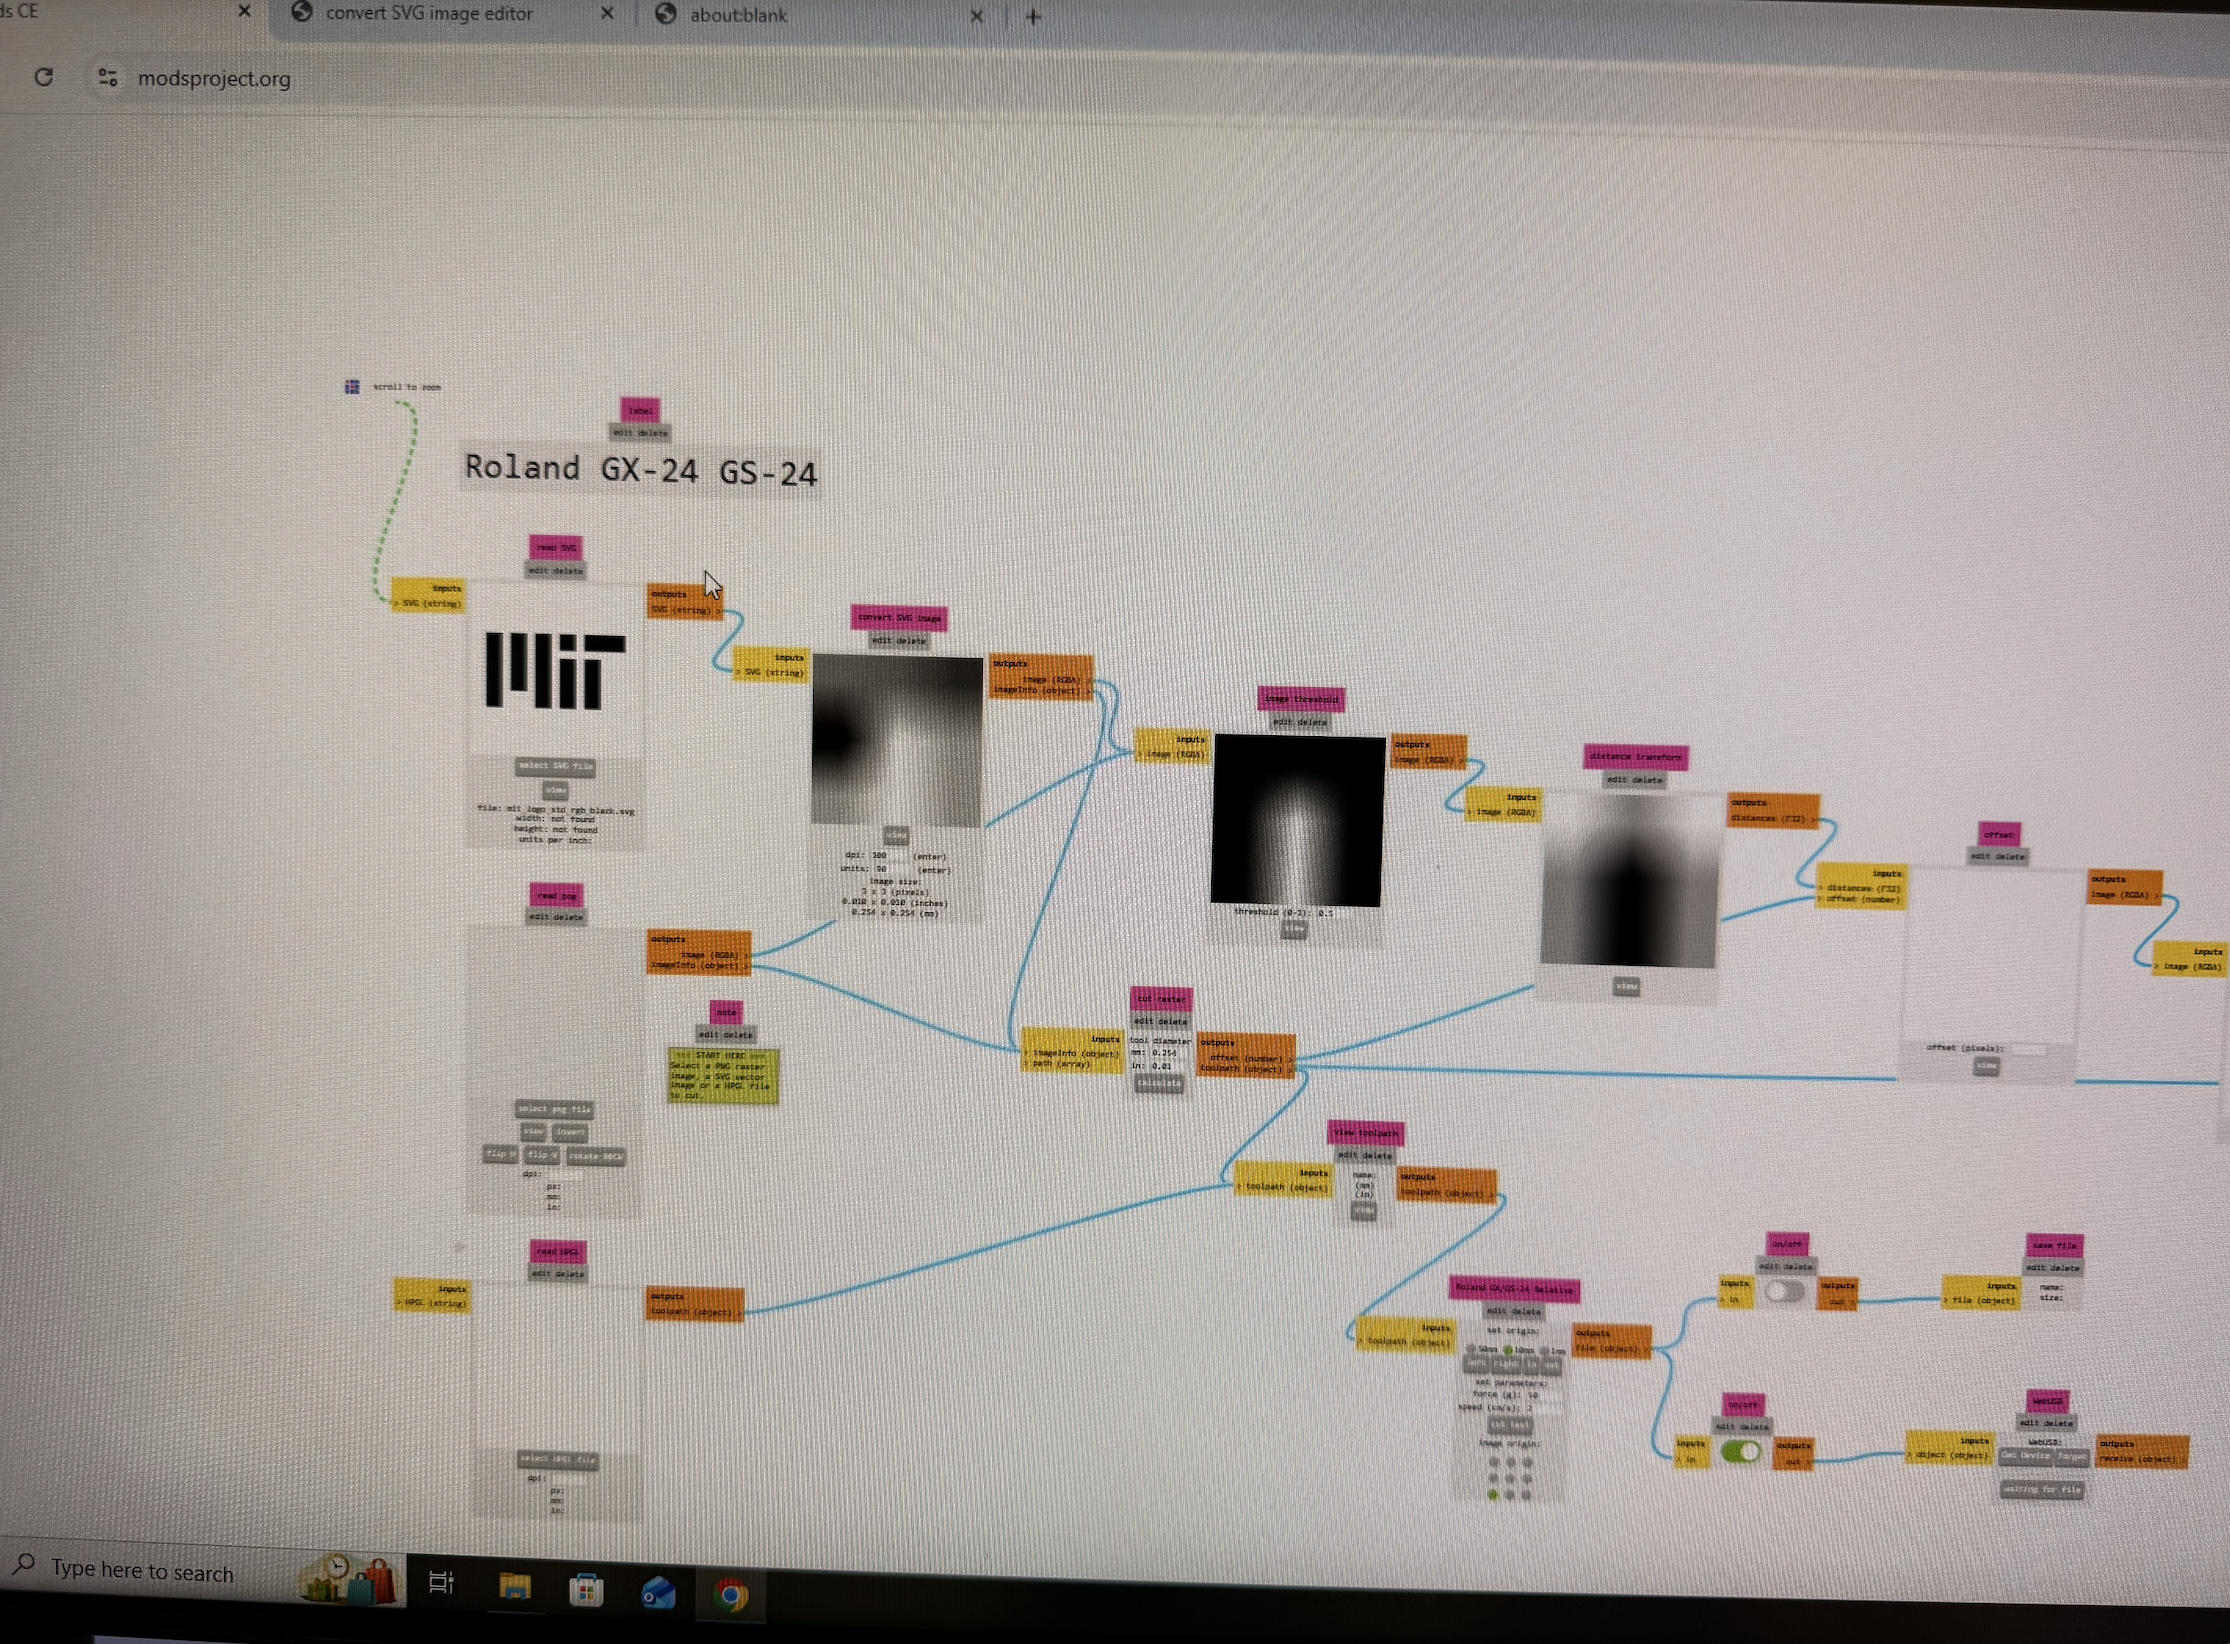
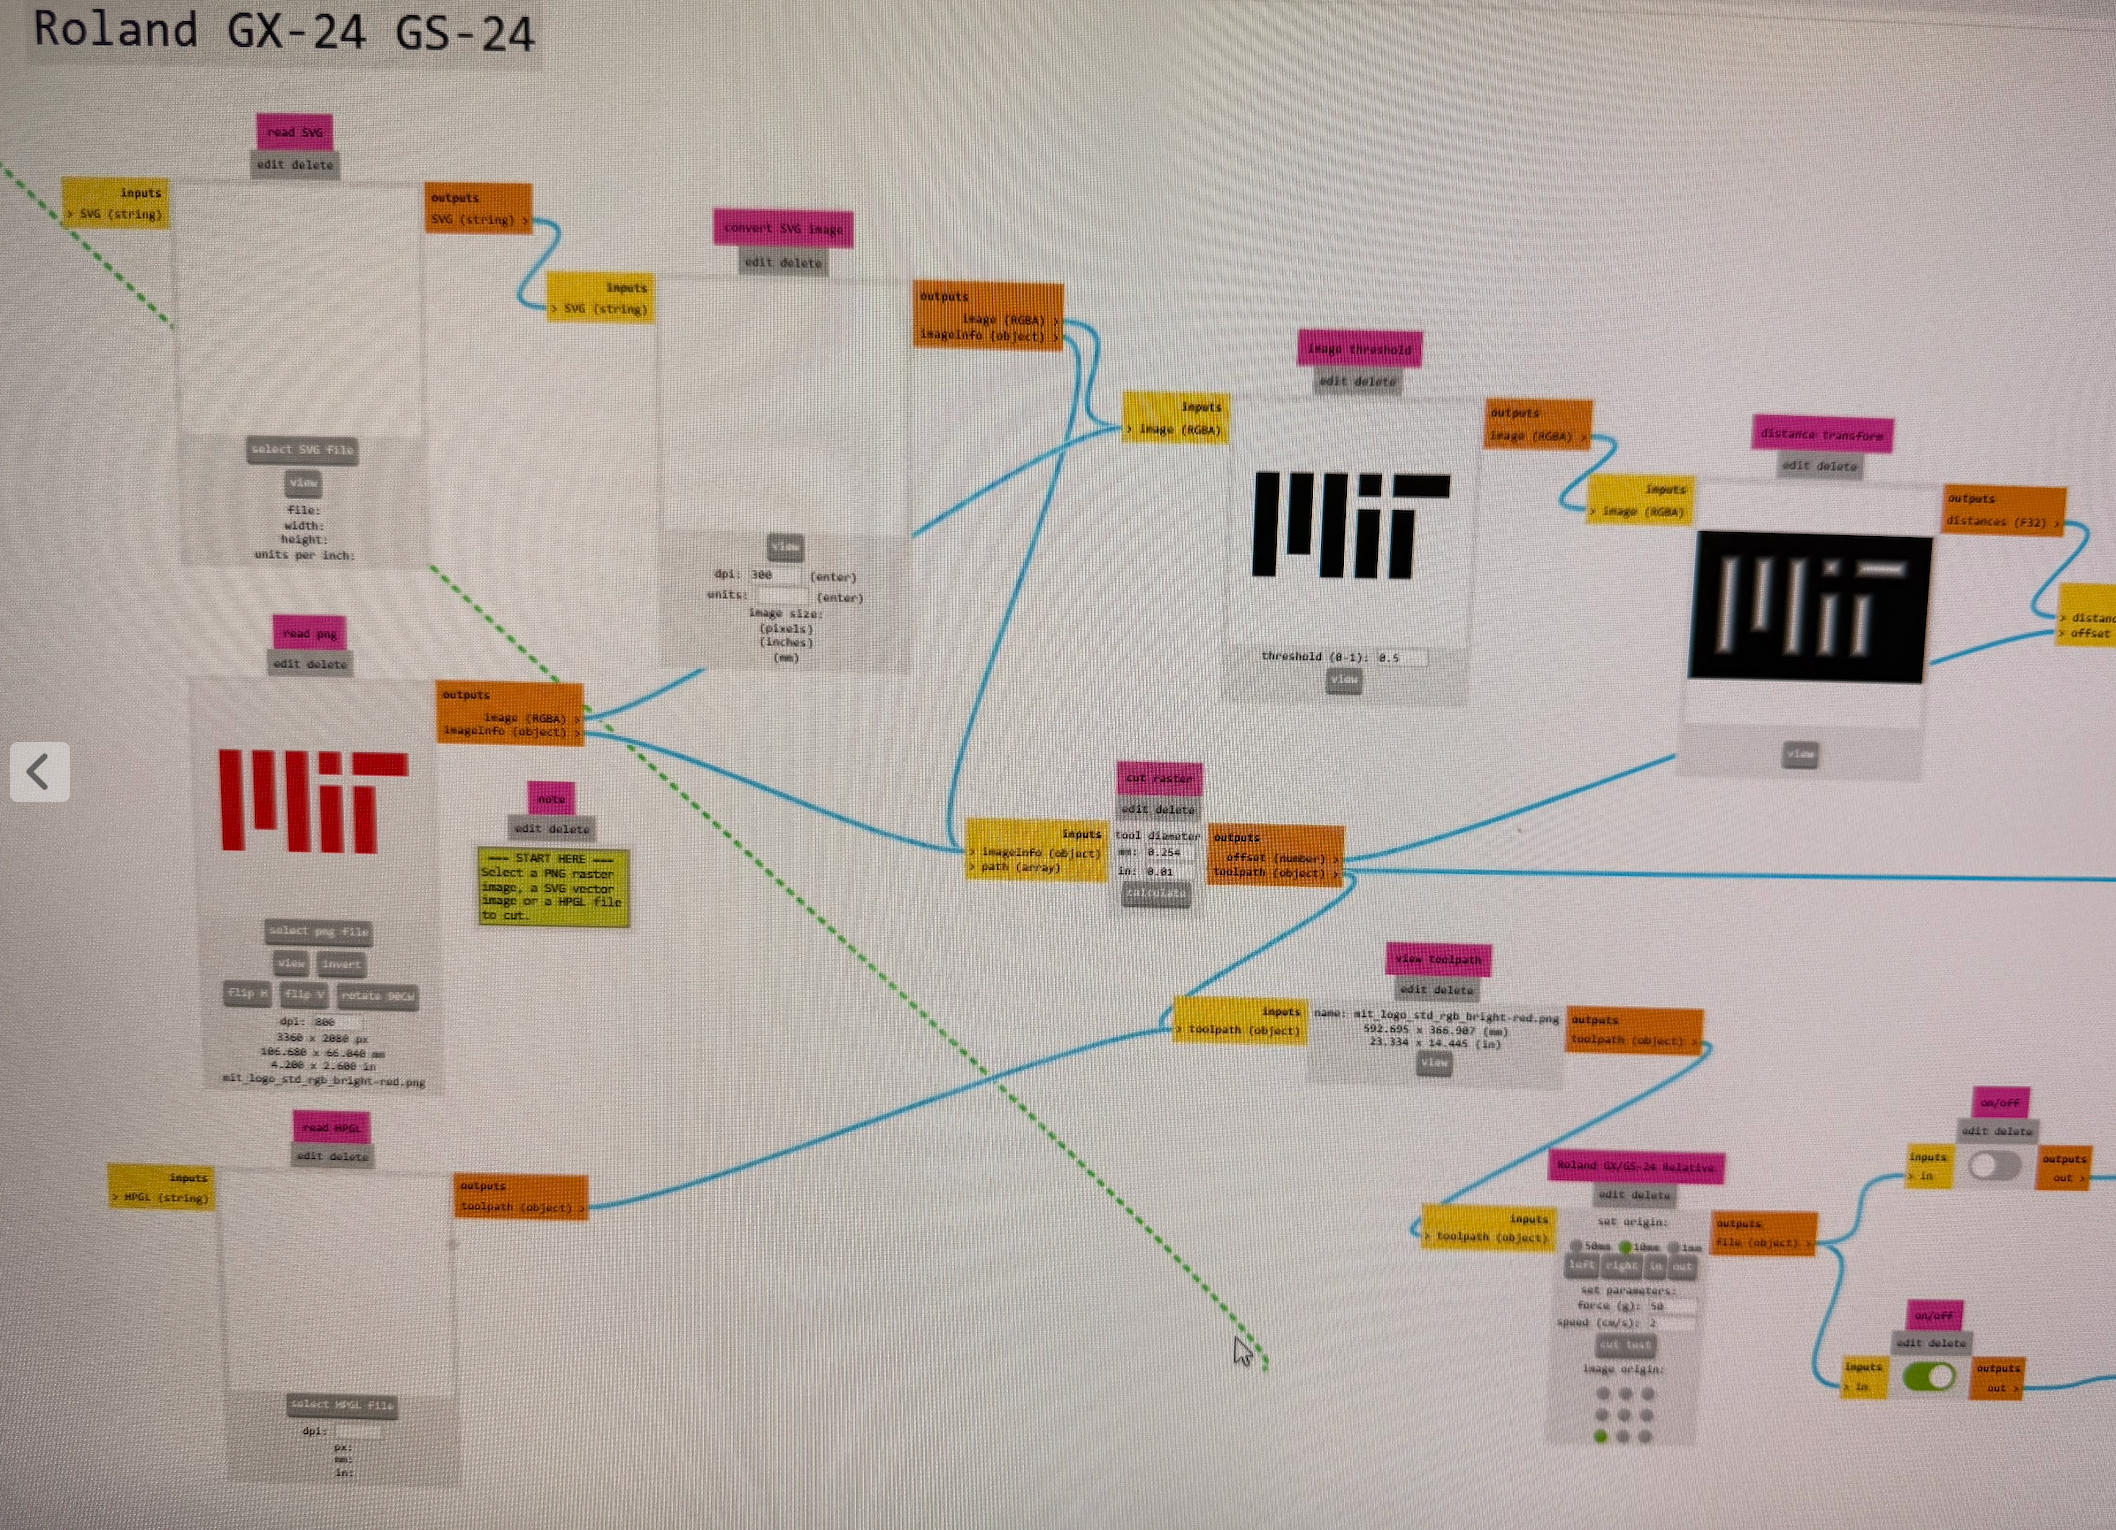
This is the step-by-step process I followed to cut vinyl using the Roland cutter and mods. I downloaded the MIT logo file from the MIT website and selected the PNG file for this cutting.
1. Open Mods & Load the Program
- Go to modsproject.org.
- Open the program: Programs → Roland Vinyl Cutter (Cut).
- Work through the modules roughly top to bottom, left to right. Remember to calculate.
2. Prepare the Image
File Requirements
- Supported formats: .svg and .png (SVG was recommended for cleaner edges). I tried the PNG version of the MIT logo; depending on the color, the red color logo seems to work fine.
- Use a black and white image (black regions indicate where the cutter will trace).
Scaling
- Adjust the final size using the DPI or dimension fields.
- For SVG files, scaling is geometric and generally clean. For PNG files, changing DPI effectively rescales pixels and can distort curved edges, so adjust carefully.
Preview & Toolpaths
- Use the invert option if you want to reverse which regions are cut.
- If the cut preview does not appear, click Calculate in the Raster / Cut module to regenerate toolpaths.
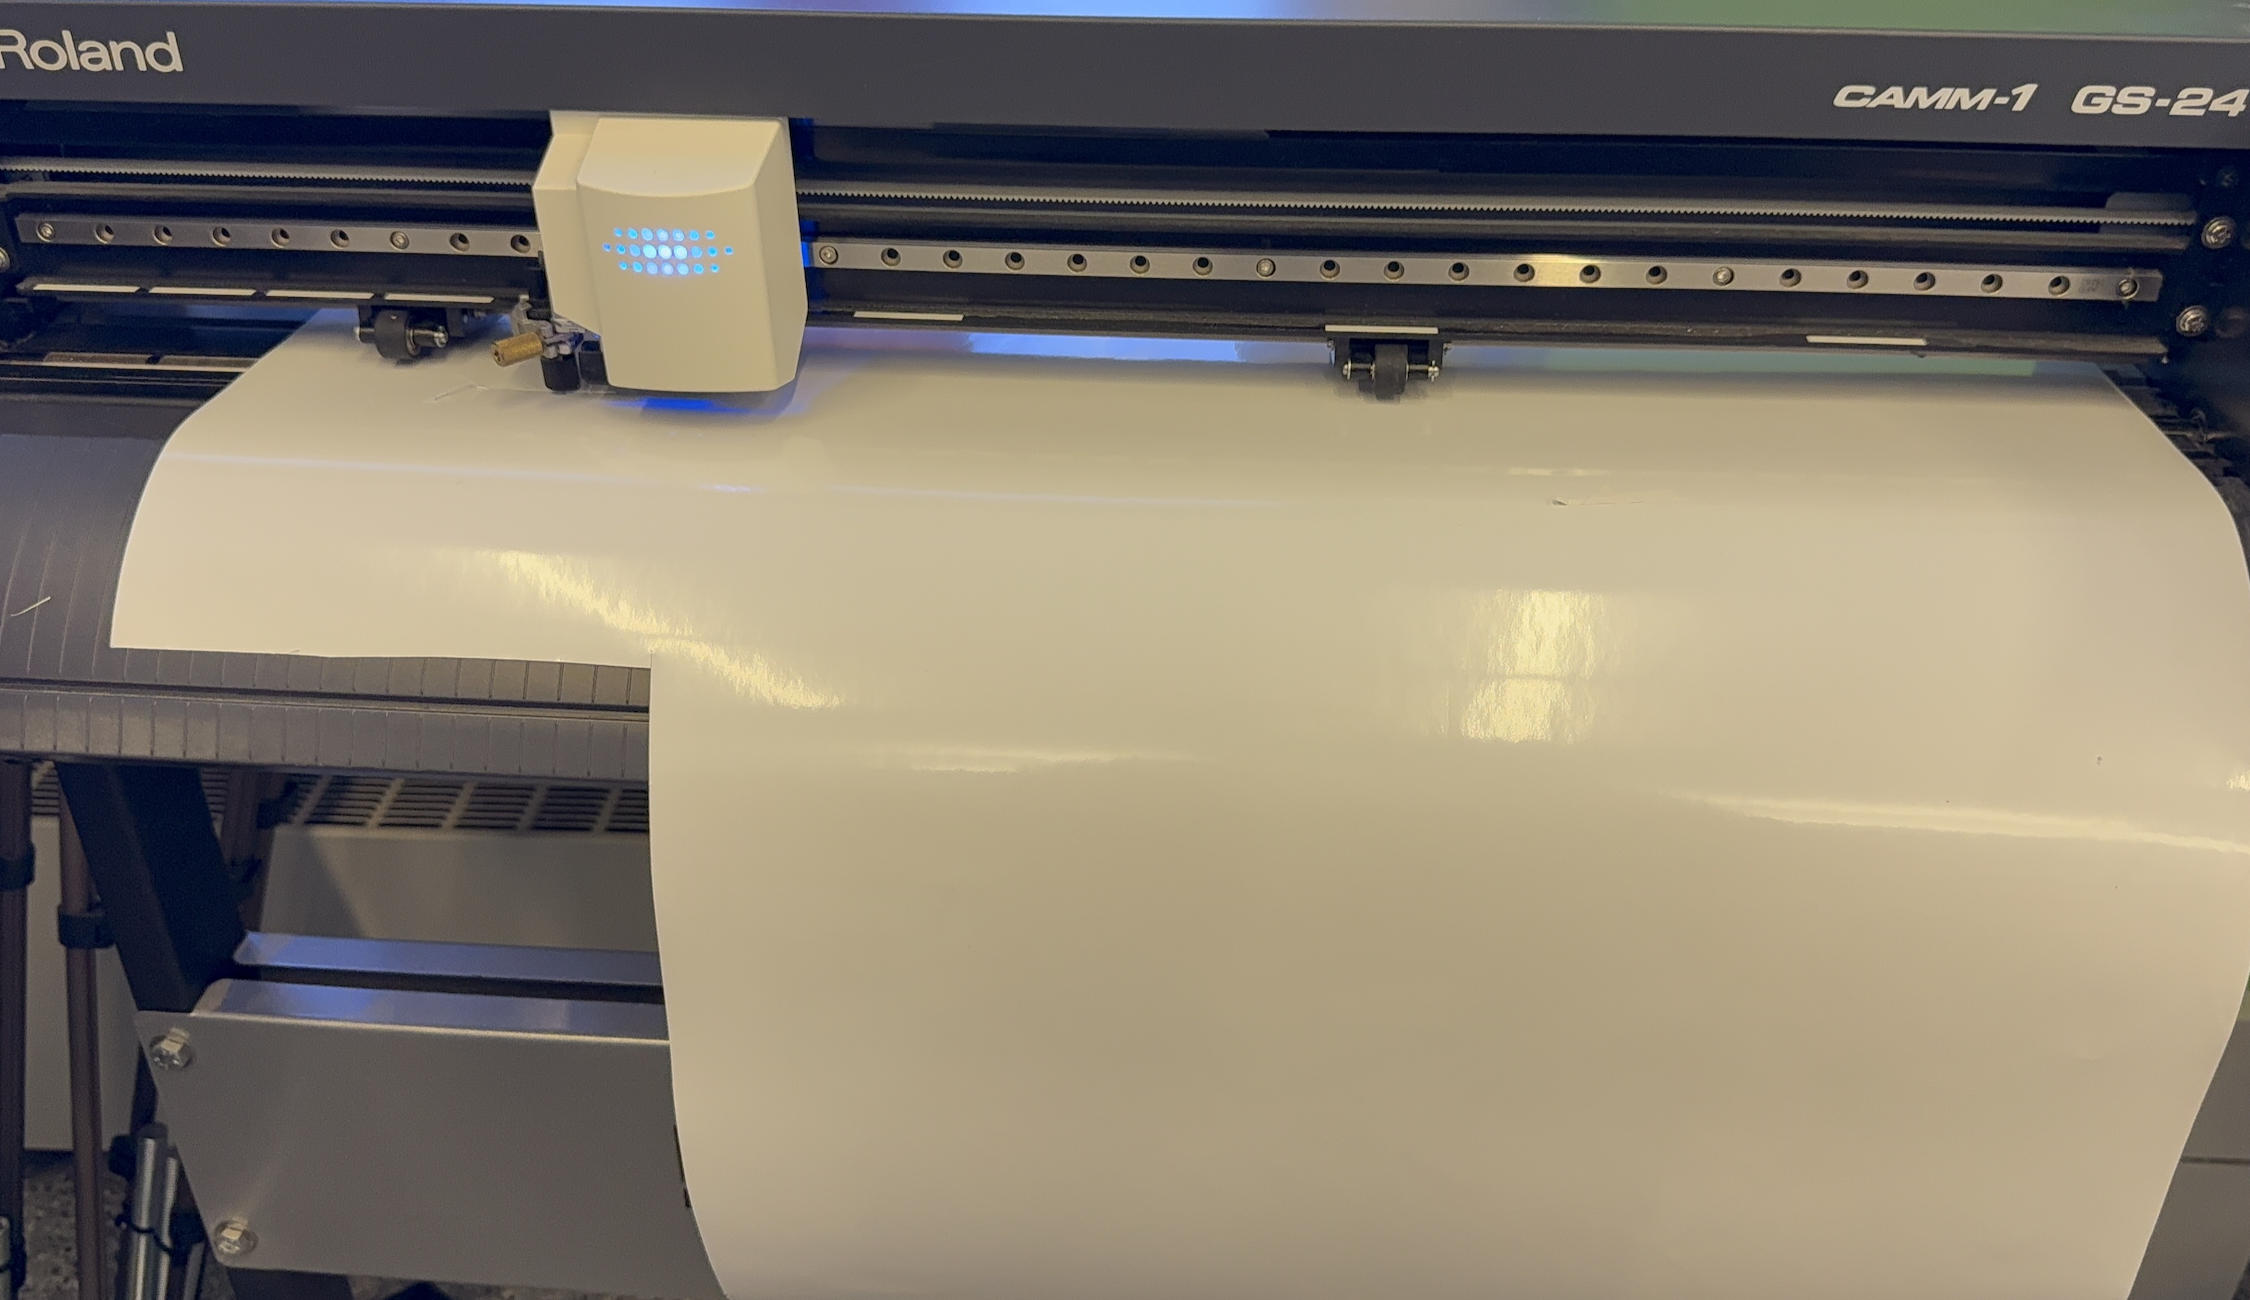
3. Set Up the Vinyl Cutter
Connect & Initialize
- Click Get Device → Connect in mods.
- Make sure the vinyl cutter is powered on.
Load the Vinyl
- Lift the lever on the back to release the pinch rollers and adjust.
- Insert the vinyl so it is aligned straight along the front edge.
- Slide the pinch rollers so they sit within the white-marked regions on the rail.
- Lower the lever to clamp the vinyl in place.
- On the machine, select SHEET (for a sheet of vinyl) and press Enter so it can measure the material.
Set the Origin
- Use the arrow keys on the machine to move the cutter head to your desired starting point.
- Press and hold Origin to set the new origin.
Force, Speed & Preview
- Default cut force is usually fine for standard vinyl. (I did not change this setting during my own cut; it seems to work perfectly)
- If the cut does not go through the vinyl, slightly increase the force; if it cuts into the backing, decrease it.
- In the mods preview: blue lines are cut paths; red lines are rapid (non-cutting) moves.
Send the Job
- Verify size, orientation, and origin in mods.
- When ready, click Send File to start cutting.
4. Weed the Vinyl
- Weed the vinyl soon after cutting; it peels more easily.
- Remove the unwanted areas first (background for stickers, interior shapes for stencils).
- It would be easier to do it with an angle or start from a different point rather than pulling straight up.
- Decide whether the result is a:
- Sticker (Remove the background and keep the shapes), or
- Stencil (Remove the shapes and keep the background).
5. Transfer the Vinyl
- Apply a piece of transfer tape on top of the weeded vinyl.
- Use a squeegee or card to press the tape down and push out air bubbles.
- Flip it over and carefully peel off the backing, leaving the vinyl stuck to the transfer tape.
- Align design on the final surface.
- Avoid dropping the whole sticker flat at once—start from one edge and squeegee gradually across to prevent air bubbles.
- Once it is fully adhered, peel off the transfer tape, leaving the vinyl on the surface.

Laser Cutter Individual Project — How to Make
Some basics about laser cutting:
1. Prepare the File in the Software
- Open the vector file (AI, DXF, PDF, SVG, etc.).
- Set lines to cut as hairline (e.g., 0.001").
- Set lines to engrave as thicker strokes.
- Check that colors map to the correct operations (e.g., red = cut, black = engrave).
- Use zoom in / zoom out to check geometry and confirm it fits in the material area.
2. Open the Print Dialog
- Press Ctrl + P (Windows) or Command + P (Mac).
- Select the Universal Laser System as the printer.
- Open Printer Properties / Setup to access the ULS control panel.
3. Set Material and Power
- In the ULS control panel, choose the material from the library, or switch to manual control.
- Adjust Power, Speed, and PPI/Hz as needed.
- For test cuts, start with faster speed and lower power, and increase power until the material cuts cleanly.
- Click Apply and OK, then Print / Send to Laser to send the job.
4. Set the Focus with the Focusing Stick
- Open the laser cutter lid and place the material flat on the bed.
- Press the Z button on the machine panel to adjust bed height.
- Use the focusing stick under the laser head and raise/lower the bed until it just touches the lens housing.
- Remove the focusing stick and close the lid.
5. Prepare for Cutting
- Turn on or verify the air assist / air compressor is running.
- Ensure the exhaust system is on.
- Confirm the laser cover is fully closed.
- Clear the workspace of any loose materials or scraps.
6. Start the Job
- On the ULS control console, select the job in the queue.
- Press the Start / green button on the laser cutter to begin the cut.
7. Monitor the Job
- Stay with the machine while it runs—never leave it unattended.
- Watch for excessive flames, smoke, or shifting material.
- If anything looks unsafe, press Stop immediately.
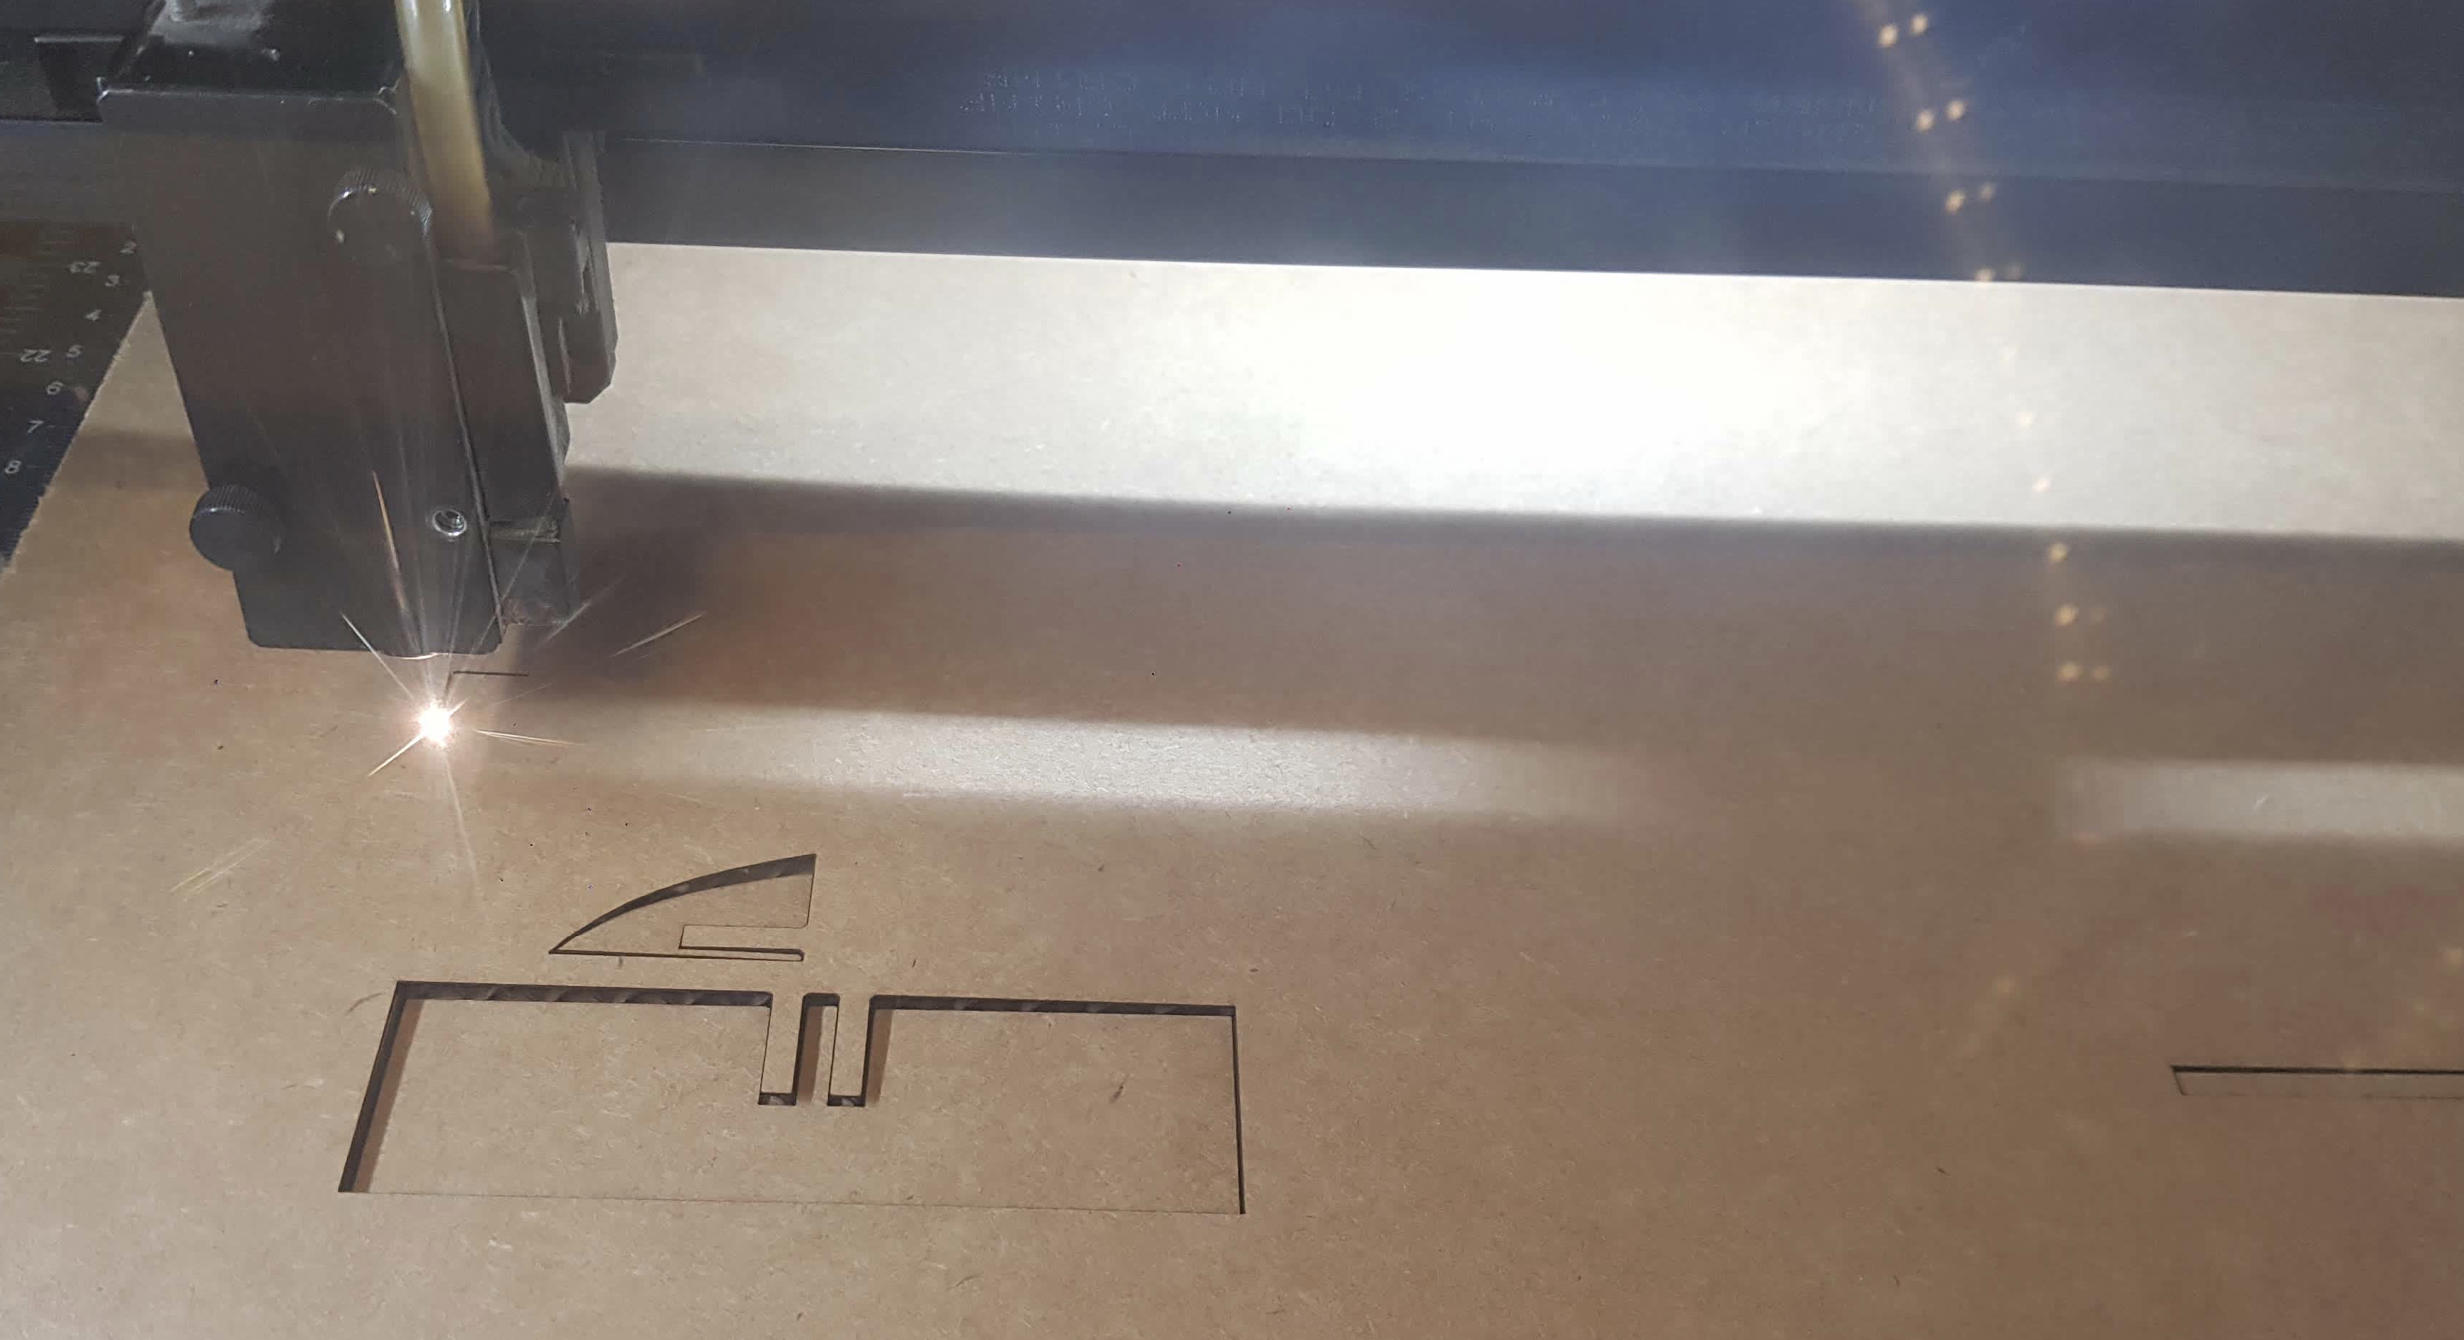
Kerf Test Before Laser Cutting
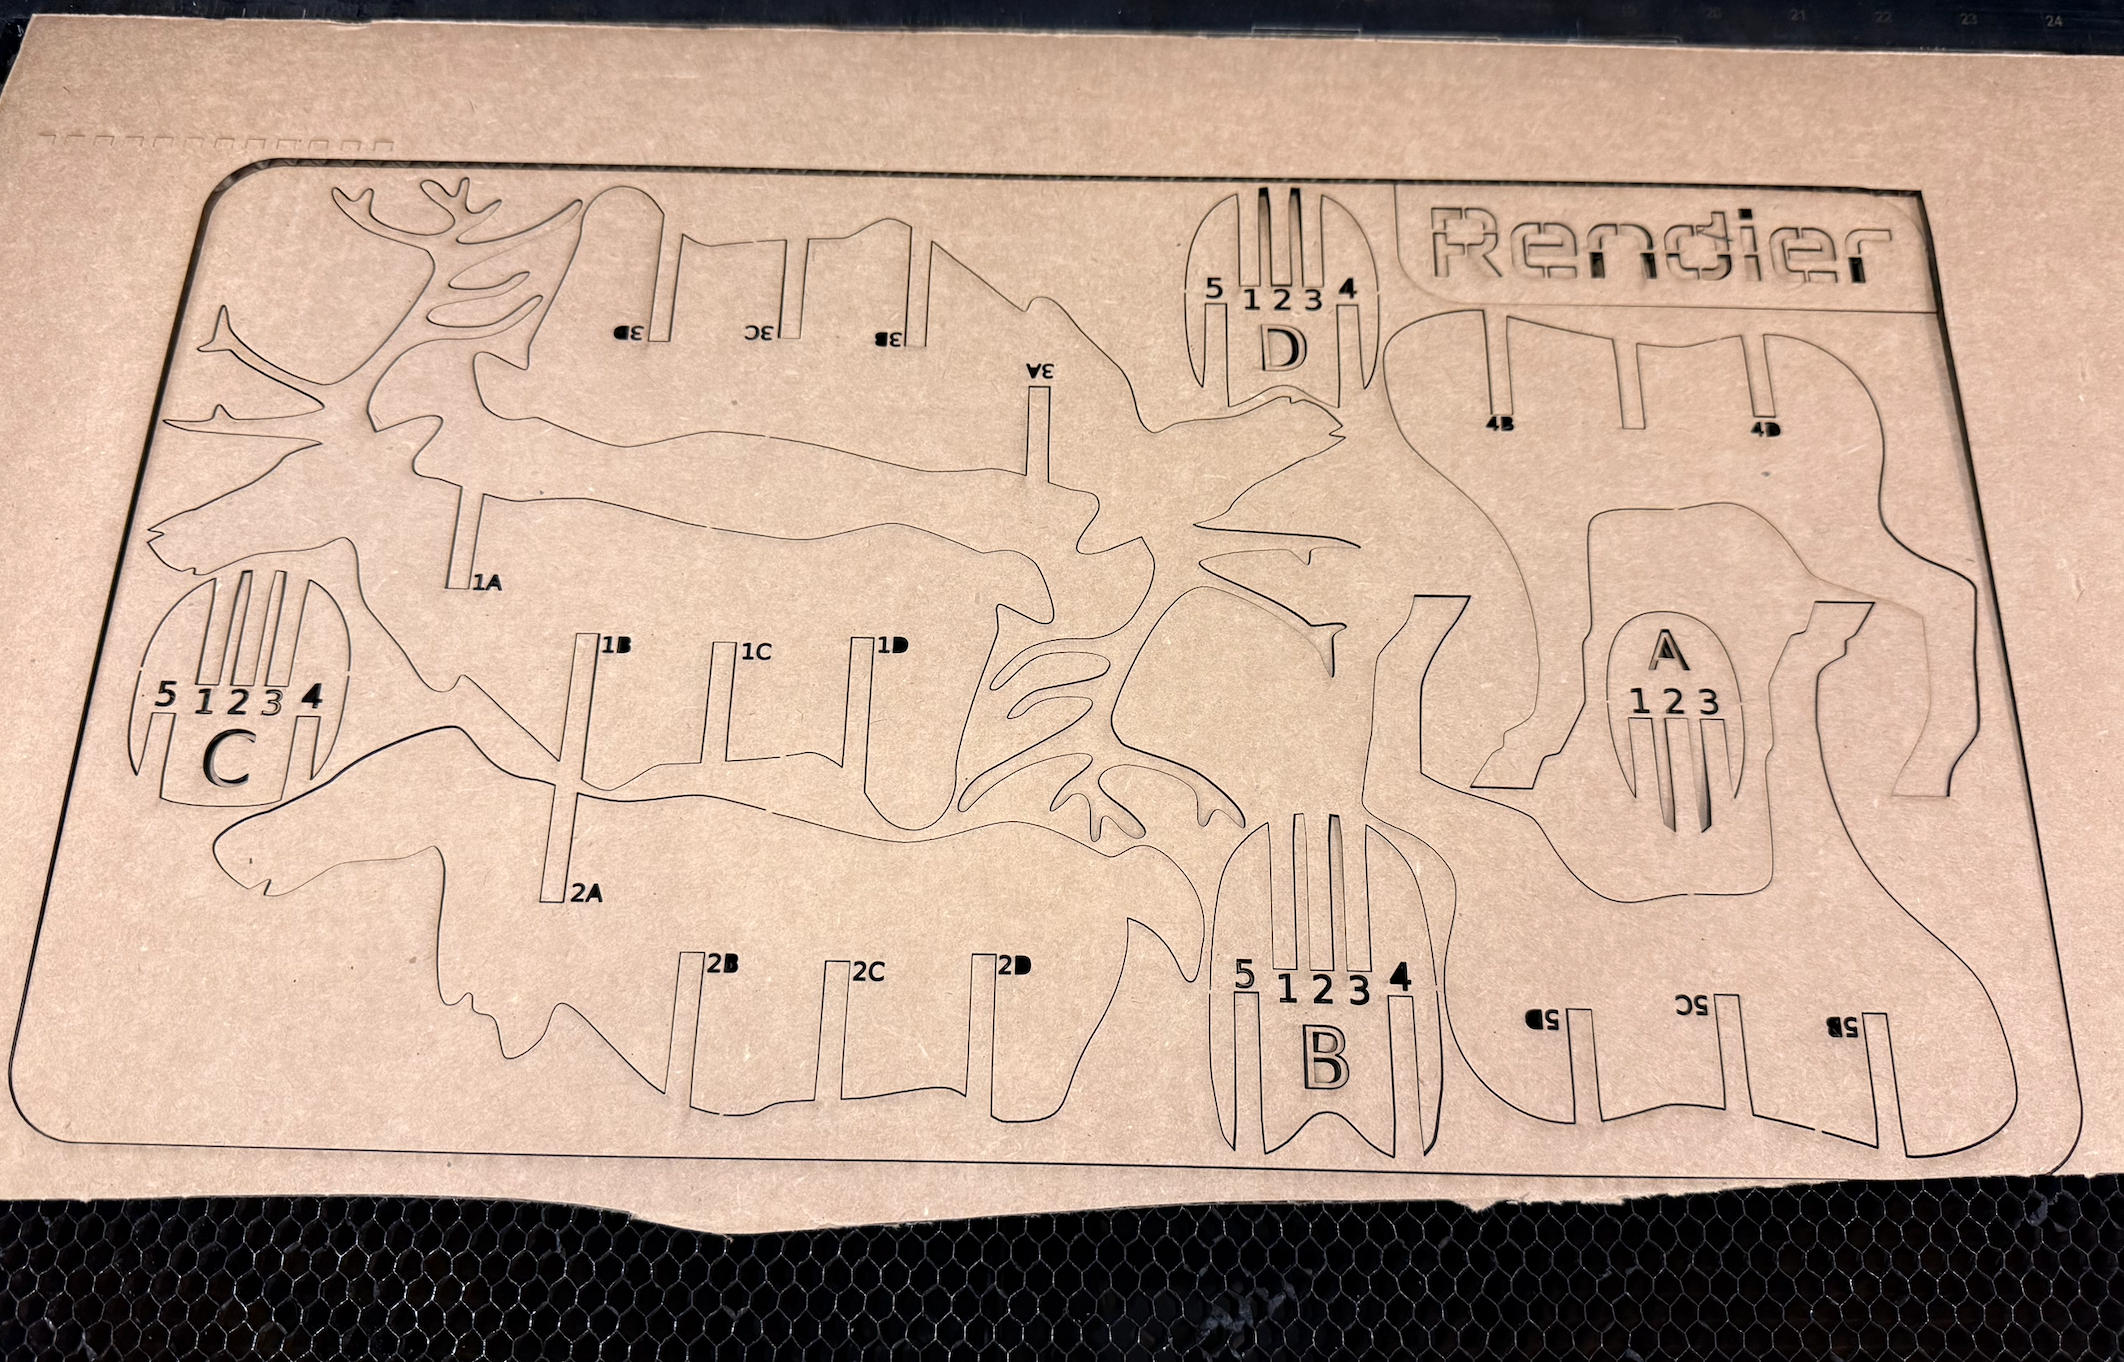
I found this fun Reindeer file online that contains pieces and tried to laser cut it in the lab. I made small tweaks to the shape, enlarged the parts a bit more than its original size. It's a very satisfying process just to stare at the cutting.
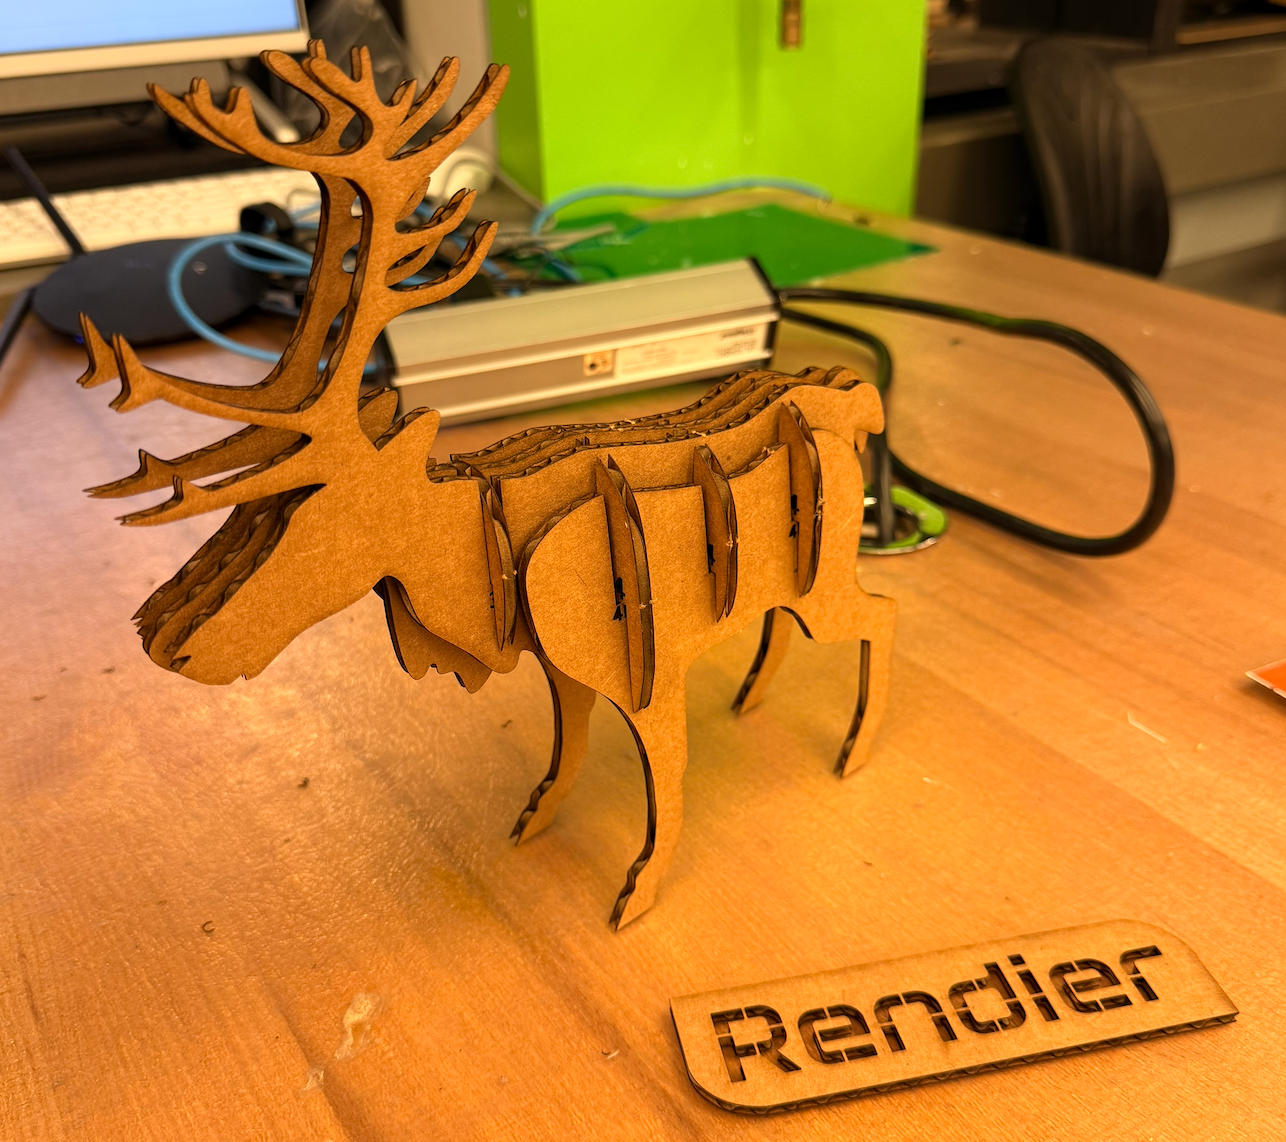
With kerf adjusted. The pieces fit perfectly together. The download link is here
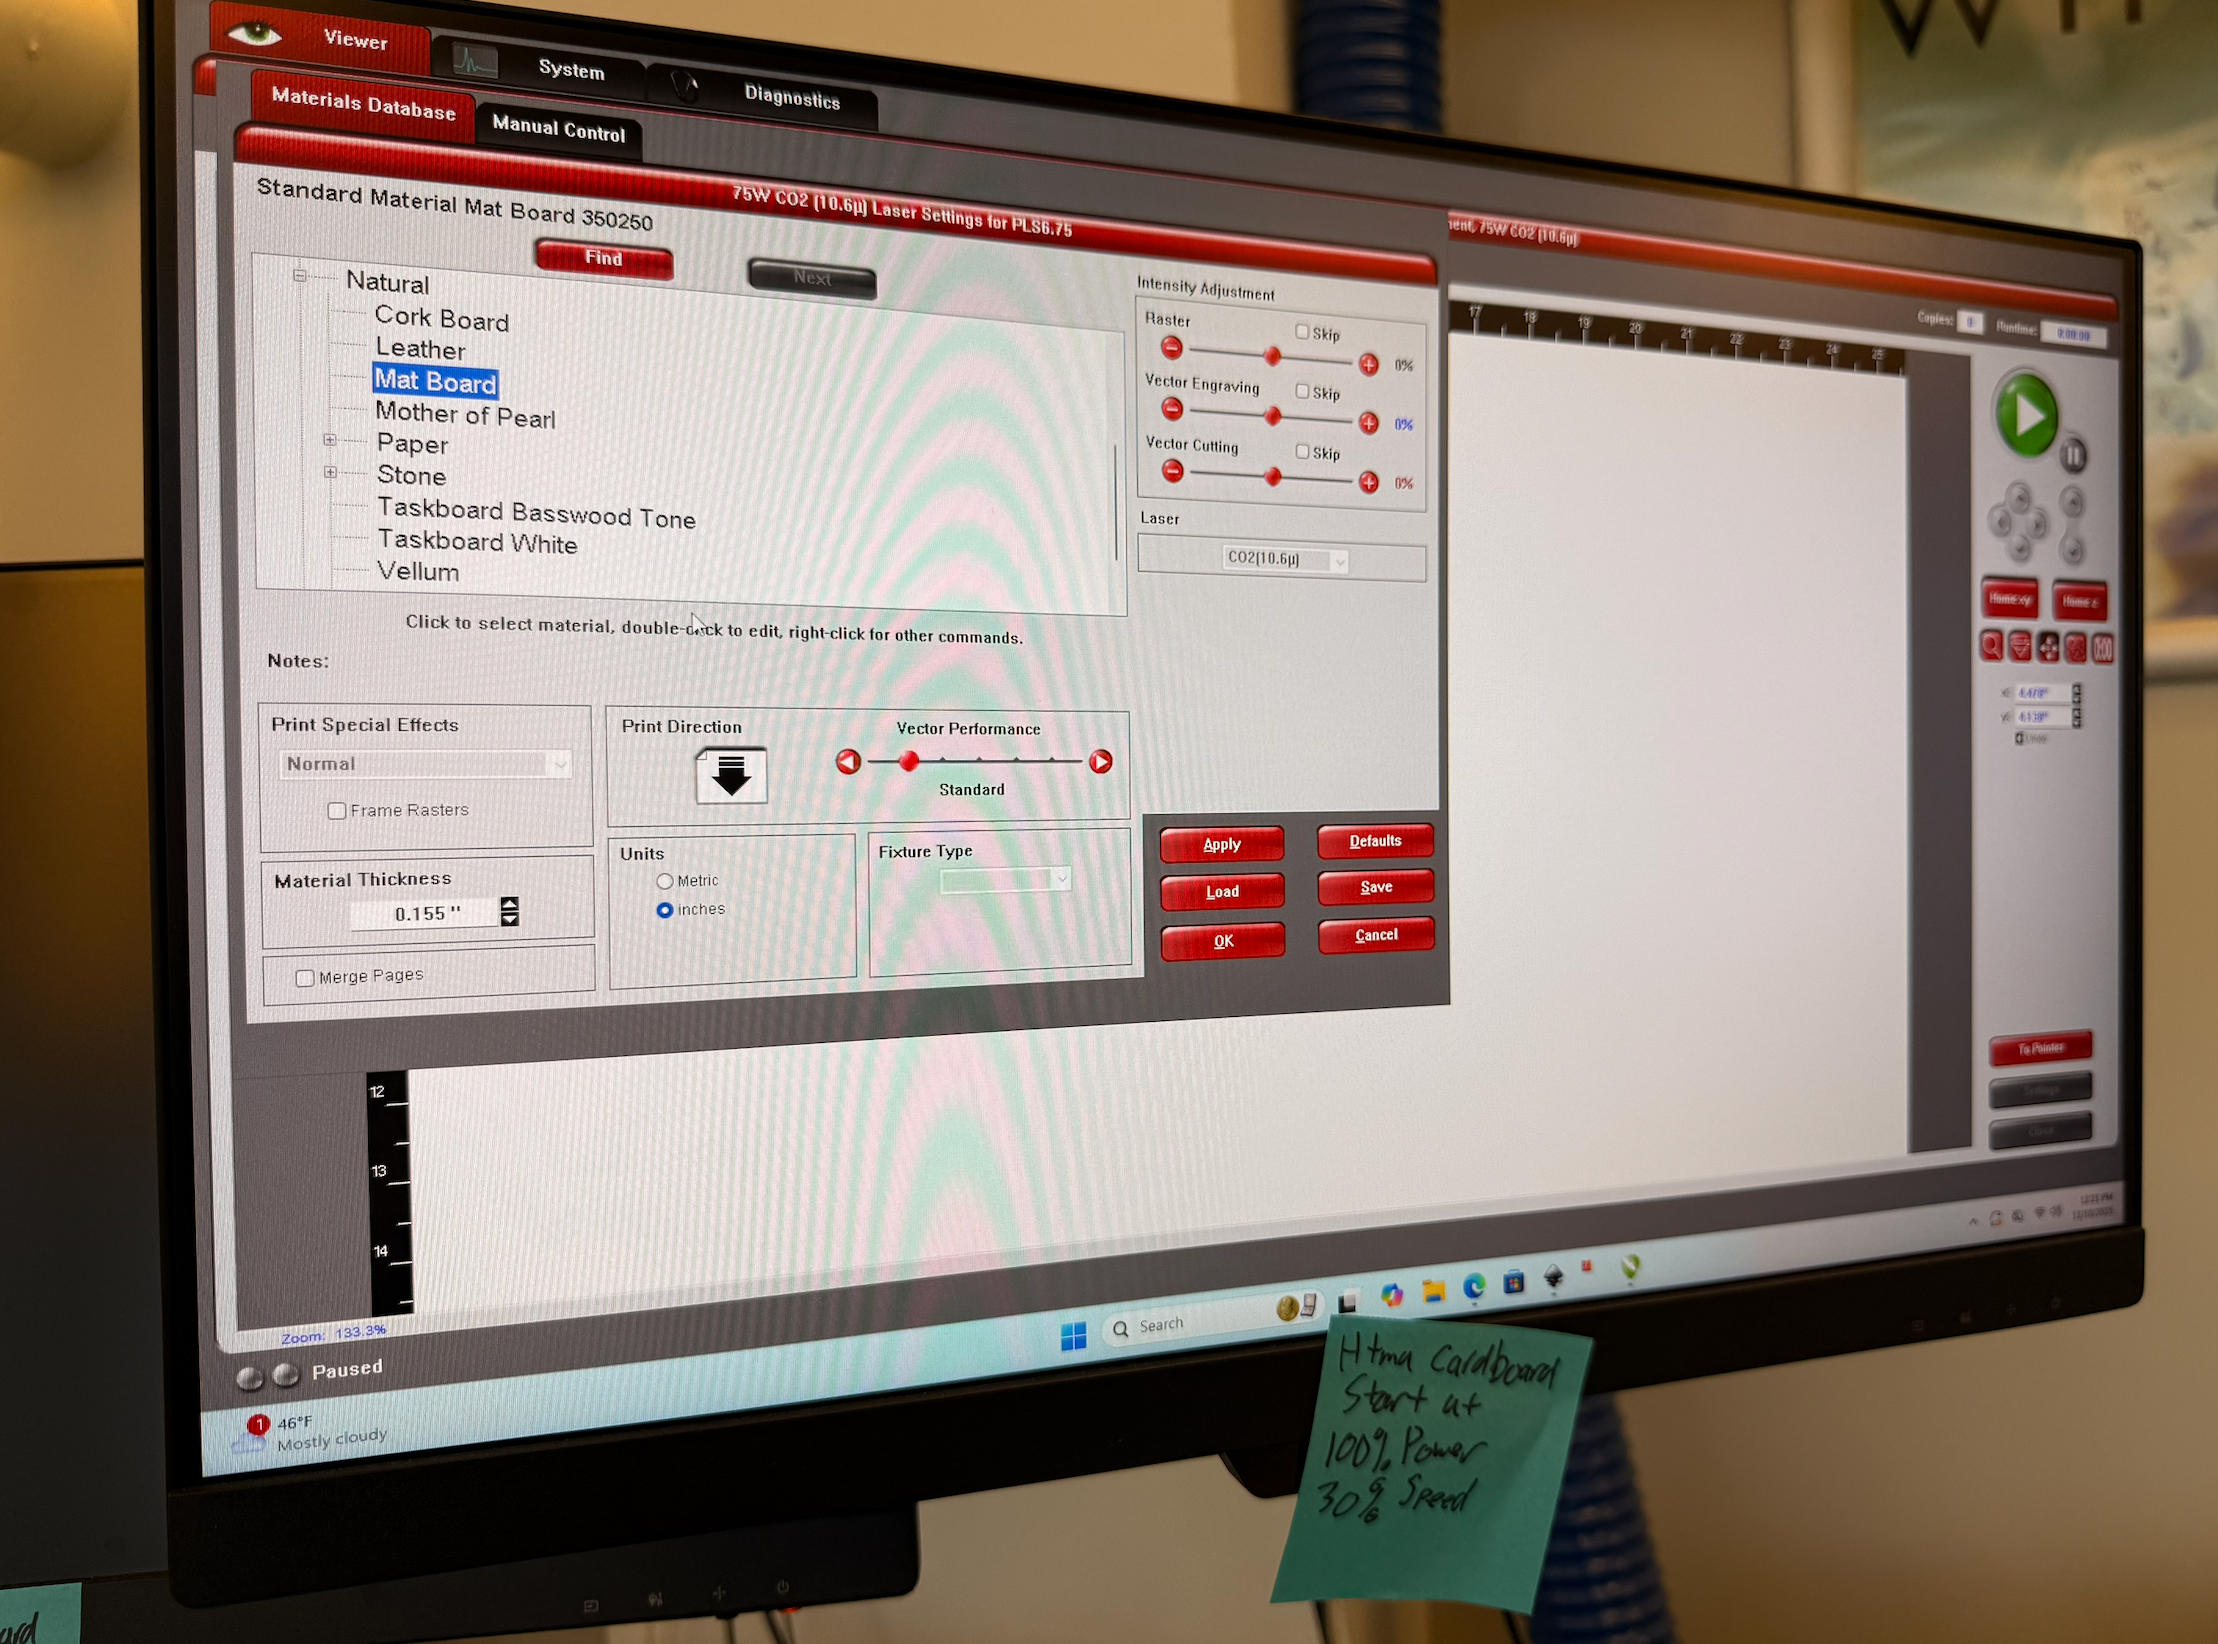
Since Christmas was coming, I decided to do ornament cutting. I didn't see any wood or acrylic in the lab, so I grabbed the nearest cardboard. I made the pattern line in RED and set the cutter setting to Natural > Mat Board. By selecting this, the power is adjusted to 100% and speed to 7.5%

Out of the five patterns, one particular pattern caught on fire! It's because there's so much detail in one small area on this pattern and the energy focused on there for too long and would not dissipate. I watched it catching fire in front of me. In fact, there were a lot of times I saw something under the cardboard that caught fire. But since there's a pump that sucks air out, the fire died out pretty quickly. Anyway, I lost one, still left with four.
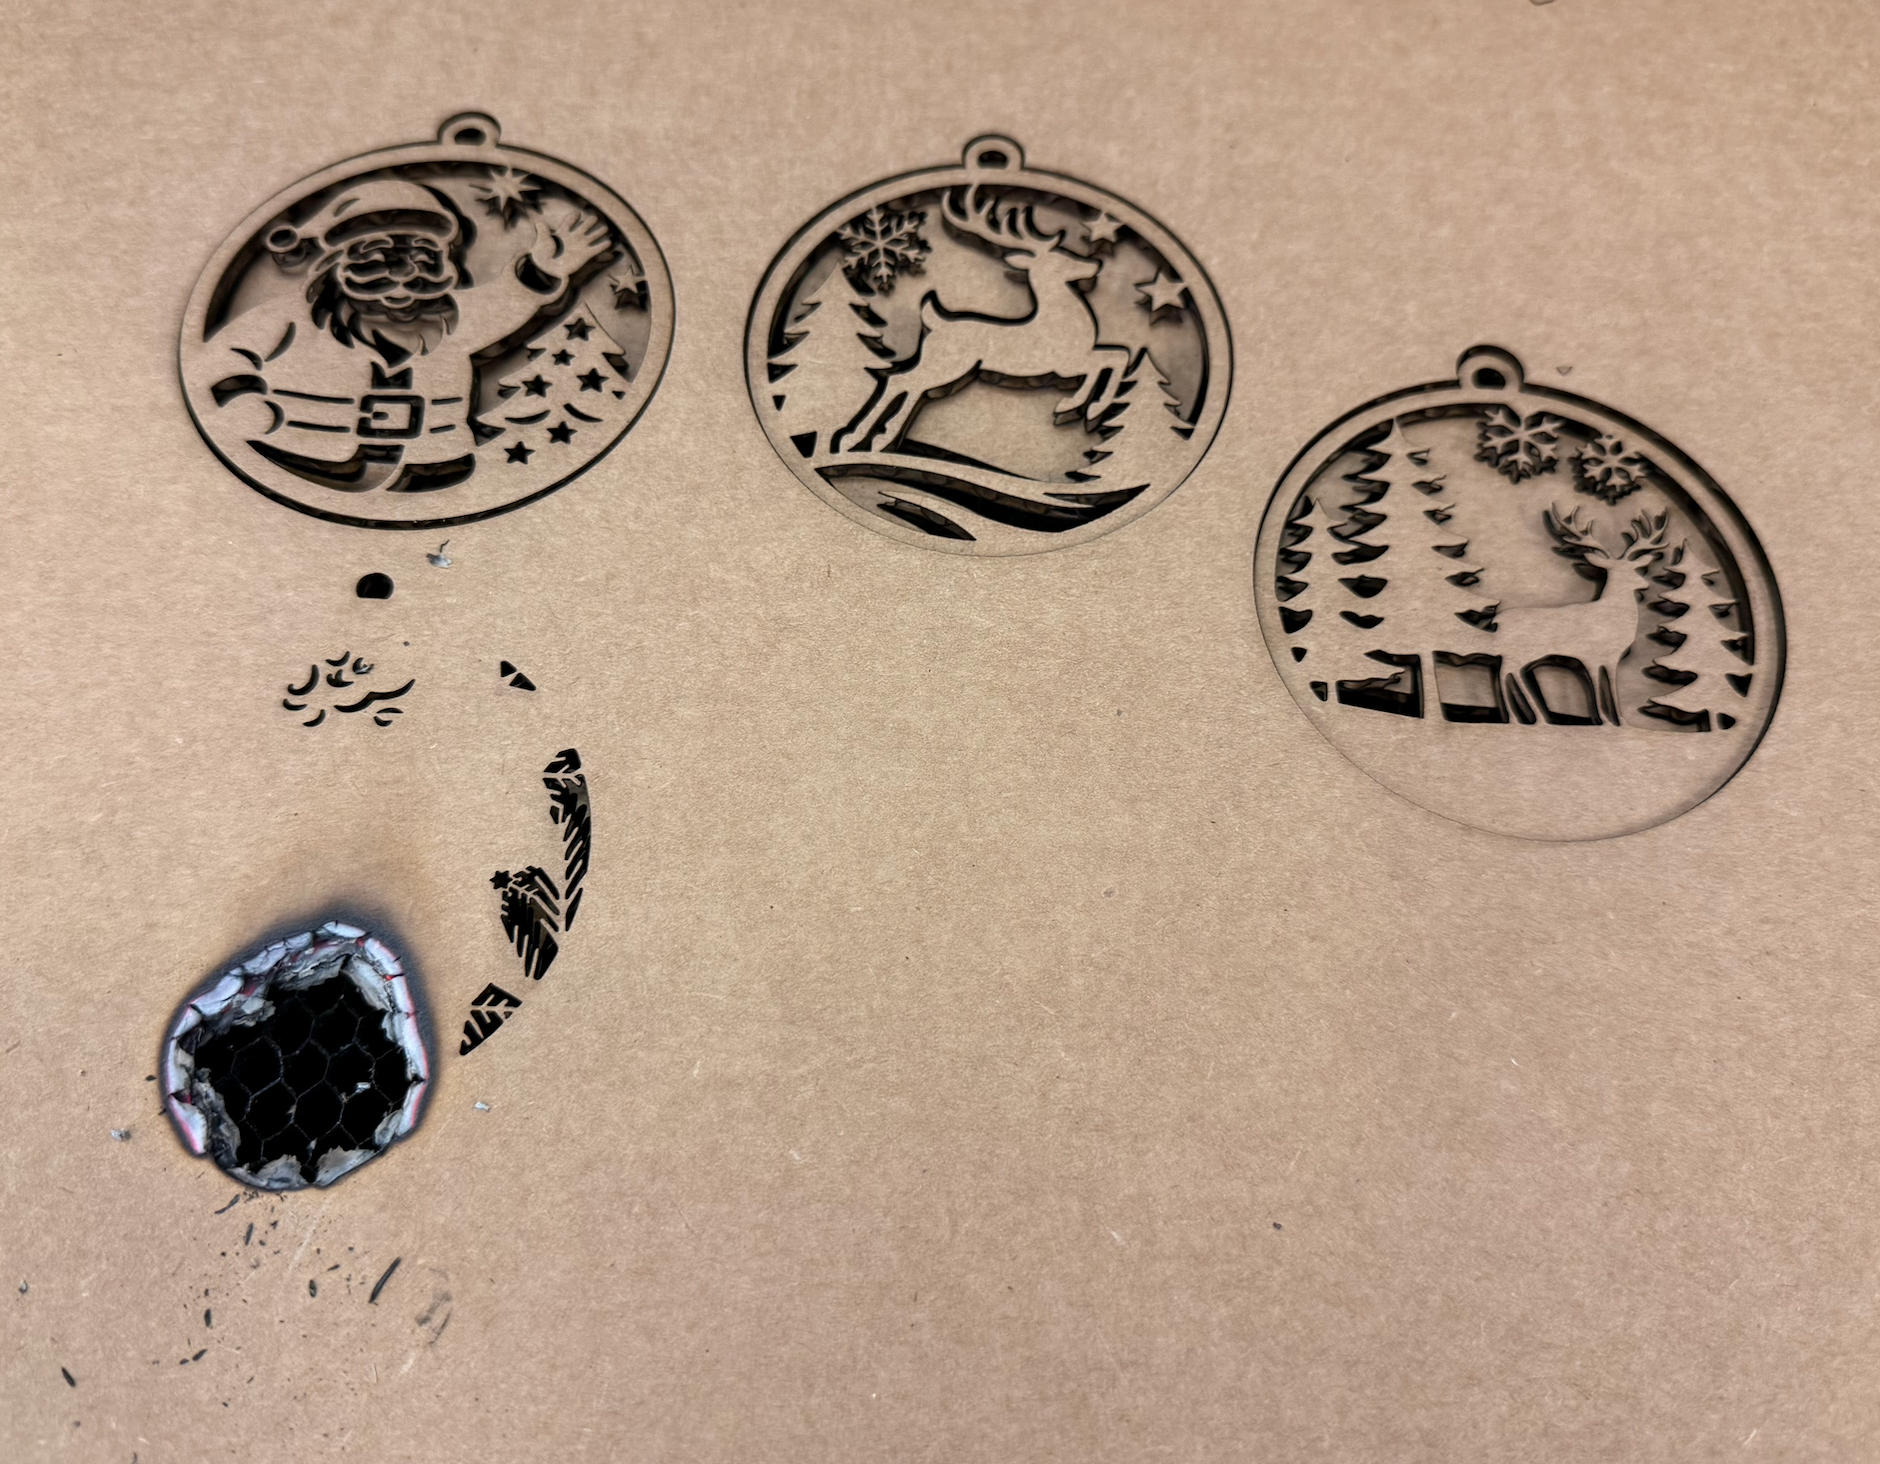
Lost one of the ornaments to fire.
Apr 13, 2026 Update — Full Site Overhaul
With the help of Anthropic’s newly released Claude Code and Cowork, I carried out a comprehensive overhaul of this entire portfolio site. The refactoring touched every single page—from the index to all 14 weekly journals and both project pages—and focused on two fronts: code cleanliness and performance.
On the code quality side, hundreds of inline <style> blocks, scattered <br> tags, and ad-hoc class names were stripped out and replaced with a unified CSS design system. Every sub-page now shares the same semantic structure—journal-hero, panel-title, gallery, figure, codeblock—making the codebase far easier to read, maintain, and extend. Legacy scripts such as the theme toggle and duplicate year-injection snippets were consolidated into a single shared script.js.
On the performance and SEO side, Open Graph meta tags were added to all 18 pages so the site now renders proper thumbnail previews when shared on platforms like WeChat. A visitor counter backed by a Cloudflare Worker was integrated into the header, tracking both visit count and cumulative time spent across all pages. Image assets were batch-converted from PNG to JPEG where applicable to reduce payload size, and unused images were identified and cleaned out.
The entire process—from auditing the old markup, to parallel-redesigning 15 pages simultaneously via autonomous agents, to running automated verification scans—was orchestrated through Claude’s agentic workflow in a single extended session. It was a fascinating experience seeing AI-assisted tooling handle a project of this scope, and a fitting demonstration of how the skills learned in HTMAA can be combined with modern AI to push creative output further.